
Can bike brakes squeal? Yes, bike brakes can absolutely squeal, and it’s a common problem that can be annoying and even a sign of something wrong. Fortunately, you can often silence bike brakes with some simple maintenance.
A squealing sound from your bike brakes is more than just an irritation; it’s a signal that something isn’t quite right with your braking system. Whether you’re dealing with disc brake squeal or the persistent chirp of rim brake squeal, this unwanted noise can detract from your riding experience and, in some cases, indicate a need for immediate attention. This comprehensive guide will delve into the reasons behind this common issue and provide step-by-step solutions for brake noise reduction. We’ll cover essential bike brake maintenance, bike brake troubleshooting, and practical tips on how to silence bike brakes so you can enjoy quieter, more effective stops.
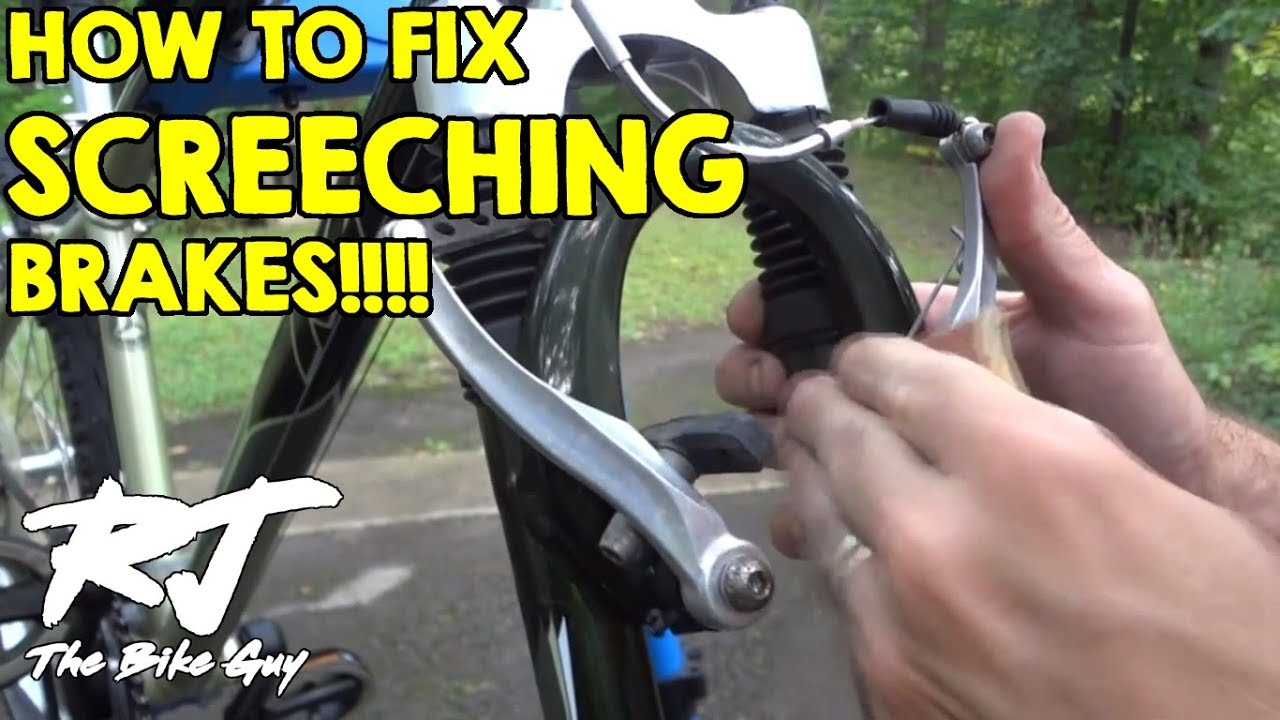
Image Source: i.ytimg.com
Why Do Bike Brakes Squeal?
Several factors can contribute to those dreaded squeaky bicycle brakes. Fathoming the root cause is the first step to finding a solution. It often comes down to vibrations between the brake pads and the rotor (for disc brakes) or rim (for rim brakes).
Here are the primary culprits:
- Contamination: This is arguably the most common reason for brake noise. Oil, grease, dirt, and even residue from your hands can get onto brake pads and rotors/rims. This contamination changes the friction characteristics, leading to vibrations and noise.
- Glazed Brake Pads: When brake pads overheat or are subjected to frequent, hard braking, the surface can become smooth and shiny, like glass. This glazing reduces friction and can cause squealing.
- Misaligned Brake Pads or Calipers: If brake pads aren’t making even contact with the rotor or rim, it can create uneven pressure and vibrations. For disc brakes, misaligned calipers are a frequent offender.
- Worn Brake Pads: Severely worn brake pads might not have enough material to provide consistent contact, leading to noise. Some pads also have wear indicators that make a squealing sound when they are worn down.
- Moisture and Debris: Riding in wet conditions or on dusty trails can introduce moisture and small particles that get trapped between the pad and the braking surface, causing squeaks.
- Improper Bedding-In of New Pads: New brake pads, especially for disc brakes, need a process called “bedding-in” to transfer a thin, even layer of pad material onto the rotor. Skipping this can result in poor performance and noise.
- Rotor or Rim Surface Issues: Bent rotors, scratched or uneven rim surfaces can also cause vibrations and noise.
- Loose Components: While less common for squealing, loose brake levers, cables, or calipers can sometimes contribute to unusual noises.
Tackling Disc Brake Squeal
Disc brake squeal is particularly prevalent due to the high forces and precise engineering involved. Here’s how to address it.
H4: Cleaning for Brake Noise Reduction
A thorough cleaning is often the first and most effective step in brake noise reduction.
H5: Brake Rotor Cleaning
The brake rotor is the metal disc that your brake pads clamp onto. Contamination here is a major noise generator.
What You’ll Need:
- Isopropyl alcohol (90% or higher)
- Clean, lint-free cloths (microfiber cloths are ideal)
- Brake cleaner spray (automotive or bicycle specific)
- Gloves (to avoid contaminating the rotor with finger oils)
Steps:
- Remove the Wheel: It’s much easier to clean the rotor with the wheel off the bike.
- Inspect the Rotor: Look for any visible dirt, oil, or debris.
- Apply Cleaner: Spray a generous amount of isopropyl alcohol or brake cleaner directly onto the rotor.
- Wipe Clean: Use a clean, lint-free cloth to wipe down the entire surface of the rotor. Rotate the wheel and repeat the process.
- Allow to Dry: Let the rotor air dry completely or wipe it down with a fresh, dry cloth.
- Avoid Touching: Once clean, try not to touch the rotor surface with your bare hands.
H5: Brake Pad Cleaning and Inspection
Brake pads can accumulate dust, grime, and even transfer material from the rotor that causes issues.
What You’ll Need:
- Clean cloths
- Sandpaper (medium grit, around 120-180)
- Brake cleaner or isopropyl alcohol
- Gloves
Steps:
- Remove Brake Pads: Consult your bike’s manual or a reliable online resource for how to remove brake pads from your specific calipers. This usually involves removing a pin or bolt.
- Inspect for Wear: Check the thickness of the pad material. Most pads have a minimum thickness line. If they are close to or below this line, they need replacing.
- Inspect for Glazing: Look for a shiny, smooth surface on the pad material. This indicates glazing.
- Light Sanding (for Glazed Pads): If pads are glazed, gently scuff the surface with sandpaper. You’re not trying to remove a lot of material, just to roughen the glazed surface.
- Clean the Pads: Spray the pads with brake cleaner or isopropyl alcohol and wipe them with a clean cloth.
- Allow to Dry: Ensure the pads are completely dry before reinstallation.
H4: Bedding-In New Brake Pads (Disc Brakes)
This crucial step ensures proper function and helps prevent disc brake squeal.
Process:
- Find a Safe Area: Locate a clear, flat, and safe area where you can accelerate and brake without obstruction.
- Accelerate: Ride your bike to a moderate speed (e.g., 10-15 mph).
- Brake Firmly: Apply the brake firmly, but don’t lock up the wheel. Slow down to about walking speed.
- Repeat: Release the brake and pedal back up to your moderate speed. Repeat this process about 10-20 times for each brake.
- Increase Intensity: For the last few repetitions, brake a bit harder, bringing the bike to a near stop.
- Cool Down: Ride for a minute or two with no braking to allow the rotors and pads to cool down.
This process transfers a thin, even layer of pad material to the rotor, creating a consistent braking surface and reducing the likelihood of squealing.
H4: Caliper Alignment for Disc Brakes
Misaligned calipers are a prime suspect for disc brake squeal.
What You’ll Need:
- Allen keys (appropriate sizes for your brake caliper bolts)
- A clean cloth
Steps:
- Loosen Caliper Bolts: Slightly loosen the bolts that attach the brake caliper to the frame or fork (usually two bolts). Do not remove them completely.
- Apply Brake Lever: Squeeze the brake lever firmly and hold it. This action will naturally center the caliper over the rotor.
- Tighten Bolts: While holding the brake lever, carefully tighten the caliper bolts, one at a time. Alternate between the bolts to ensure even tightening.
- Release Lever: Once the bolts are snug (don’t overtighten), release the brake lever.
- Check Alignment: Spin the wheel and check that the rotor is not rubbing against the brake pads when the lever is not applied. A slight rub might be okay, but significant contact indicates continued misalignment.
- Test: Ride the bike and test the brakes. If the squealing persists, you may need to fine-tune the alignment or consider other solutions.
H4: Rotor Truing
A bent or warped rotor can cause constant rubbing and squealing.
What You’ll Need:
- Rotor truing tool (specifically designed for this purpose) or a clean, adjustable wrench.
- Gloves
Steps:
- Remove the Wheel: For easier access.
- Spin the Wheel: Slowly spin the wheel and identify where the rotor makes contact with the brake pads. Mark the area on the rotor or caliper.
- Use the Truing Tool: Gently insert the rotor truing tool (or the edge of an adjustable wrench) into the gaps between the brake pads.
- Apply Slight Pressure: Apply gentle, steady pressure to the warped section of the rotor in the direction opposite to the bend. For instance, if the rotor is rubbing on the left side of the caliper, gently push the rotor away from that side.
- Check and Repeat: Spin the wheel again and check for rubbing. Repeat the process as needed, making small adjustments each time. Patience is key here; over-correction can worsen the problem.
- Test: Once the rotor runs true, re-install the wheel and test the brakes.
H4: Brake Pad Lubrication (Caution Required)
While the term bike brake lubrication might sound helpful, it’s crucial to be extremely careful. Never lubricate the braking surface of disc brake rotors or pads. Lubrication here will ruin your brakes. However, some people use a tiny amount of specialized brake lubricant on the back of the brake pads (the metal backing plate) or the caliper’s piston seals to potentially reduce vibration transfer. This is an advanced technique and often not necessary. If you choose to do this, use a product specifically designed for disc brake components and apply it sparingly.
Addressing Rim Brake Squeal
Rim brake squeal often stems from the interaction between the brake pads and the wheel rim.
H4: Cleaning Rim Brake Surfaces
The rim surface needs to be clean for effective and quiet braking.
What You’ll Need:
- Clean cloths
- Rubbing alcohol or rim cleaner
- Mild soap and water
Steps:
- Inspect Rims: Look for any dirt, oil, grit, or rubber residue from the brake pads.
- Clean with Soap and Water: Use a cloth dipped in mild soap and water to wipe down the braking surface of the rim.
- Rinse and Dry: Rinse the rim with clean water and dry it thoroughly with a clean cloth.
- Alcohol Wipe: For a deeper clean, wipe the rim surface with rubbing alcohol on a clean cloth. This removes any lingering grease.
- Check Brake Pads: While you’re at it, inspect your rim brake pads for wear, embedded debris, or glazing, and clean them as described in the disc brake section (using sandpaper if glazed).
H4: Brake Pad Alignment for Rim Brakes
Proper alignment ensures the brake pad contacts the rim squarely.
Steps:
- Loosen Caliper Bolts: Loosen the bolts that attach the brake calipers to the frame.
- Align Pads: Position the brake pads so they are centered on the rim’s braking surface. They should be parallel to the rim.
- Ensure Even Contact: The bottom edge of the brake pad should contact the rim slightly before the top edge. This is called a toe-in or canting, and it can help prevent squealing. Most brake pads can be angled slightly.
- Tighten Bolts: While holding the pads in the correct position, tighten the caliper mounting bolts.
- Check Clearance: Ensure there is adequate clearance between the tire and the brake pads.
H4: Rim Brake Pad Conditioning (Toe-In)
This is a specific adjustment that can significantly improve rim brake squeal.
Process:
- Identify the Squeal: Notice which brake is squealing.
- Adjust Pad Angle: Most rim brake pads can be angled inward at the front or rear by loosening the pad bolt.
- Small Adjustment: Make a very small adjustment to angle the front of the brake pad slightly towards the wheel, so it makes contact with the rim a fraction of a second before the rear of the pad. This is the “toe-in” effect.
- Test: Spin the wheel and test the brake. You may need to experiment with small adjustments to find the sweet spot.
- Secure: Once you achieve quiet braking, tighten the pad bolts securely.
H4: Check Rim Wear
Over time, rims can wear down, especially if you ride in abrasive conditions. A worn rim can have a concave shape or grooves, which can contribute to noise.
Inspection:
- Look at the rim’s braking surface. Does it appear significantly worn down or grooved?
- Some rims have wear indicator lines or dots. If these are visible, the rim is likely worn out.
If your rims are worn, they may need to be replaced for optimal braking performance and safety.
General Bike Brake Troubleshooting and Maintenance
Beyond the specific issues for disc and rim brakes, some general principles apply.
H4: Bedding-In New Rim Brake Pads
While less critical than for disc brakes, new rim brake pads can also benefit from a short break-in period. Ride gently for the first few stops after installing new rim brake pads to allow them to conform to the rim.
H4: Cable Tension and Routing
While not usually a direct cause of squealing, improperly tensioned or routed brake cables can affect how the brakes engage, potentially exacerbating other issues. Ensure cables move freely and are not kinked.
H4: Brake Fluid (Hydraulic Disc Brakes)
For hydraulic disc brakes, old or contaminated brake fluid can lead to poor performance and potentially noise. Flushing and bleeding the system can resolve this, but it’s a more involved maintenance task.
H4: Checking for Loose Components
Periodically check that all brake-related components are secure:
- Brake levers
- Brake calipers
- Brake rotor bolts
- Brake pad mounting bolts/screws
- Wheel quick releases or thru-axles
H4: When to Seek Professional Help
If you’ve tried these steps and your brakes continue to squeal, or if you’re uncomfortable performing any of these maintenance tasks, it’s best to take your bike to a qualified bicycle mechanic. They have specialized tools and expertise to diagnose and fix complex brake issues.
Table: Common Squeal Causes and Solutions
| Problem Category | Specific Cause | Solution |
|---|---|---|
| Disc Brake Squeal | Rotor Contamination | Clean rotor with isopropyl alcohol or brake cleaner. |
| Pad Contamination/Glazing | Clean pads; lightly sand glazed pads; replace if worn. | |
| Caliper Misalignment | Realign caliper by loosening bolts, squeezing lever, and retightening. | |
| Rotor Warping | True the rotor using a truing tool. | |
| Improper Bedding-In | Perform the proper bedding-in procedure for new pads. | |
| Rim Brake Squeal | Rim Contamination | Clean rim braking surface with soap/water and alcohol. |
| Pad Contamination/Glazing | Clean pads; lightly sand glazed pads; replace if worn. | |
| Pad Alignment (Toe-In) | Adjust pad angle for slight toe-in (front contacts rim first). | |
| Rim Wear | Inspect rim for wear; replace rim if significantly worn. | |
| General Issues | Worn Brake Pads | Replace brake pads when worn below minimum thickness. |
| Moisture/Debris | Dry components after wet rides; clean regularly. | |
| Loose Components | Check and tighten all brake-related hardware. | |
| Contaminated Brake Fluid (Hydraulic) | Have brake fluid flushed and system bled. |
Frequently Asked Questions (FAQ)
Q1: Can I just ignore brake squeal?
While minor squealing might just be an annoyance, it can sometimes indicate that your brakes are not performing at their best. It’s generally advisable to address the issue to ensure reliable stopping power and to prevent potential damage to components.
Q2: What is the best way to clean disc brake rotors?
The most effective way to clean disc brake rotors is by using a dedicated brake cleaner spray or high-percentage isopropyl alcohol (90% or higher) and a clean, lint-free cloth. Avoid using petroleum-based cleaners, as they can leave a residue that contaminates the pads.
Q3: How often should I clean my bike brakes?
Regular cleaning is part of good bike brake maintenance. It’s a good idea to give your brakes a quick wipe-down after muddy or dusty rides. A more thorough cleaning of rotors and pads should be done periodically, or whenever you notice performance degradation or noise.
Q4: My new disc brake pads are squealing. What should I do?
New disc brake pads often squeal initially. This is usually because they haven’t been properly “bedded-in.” Follow the bedding-in procedure described earlier to transfer an even layer of pad material to the rotor. If the squealing persists after bedding-in, check caliper alignment and ensure there’s no contamination.
Q5: Is it bad if my brake pads are worn down?
Yes, it can be. Worn brake pads significantly reduce braking effectiveness and can even damage your rotors or rims if the backing material makes contact. Always inspect your brake pads for wear and replace them before they reach their minimum thickness.
Q6: Can I use automotive brake cleaner on my bicycle brakes?
Yes, most automotive brake cleaners are safe to use on bicycle disc brake rotors and pads. Ensure the cleaner is designed to remove oil and grease. However, always use a clean cloth to apply it and avoid spraying directly onto other bike components unless specified.
By following these detailed steps and performing regular bike brake maintenance, you can effectively tackle squeaky bicycle brakes and enjoy the peace of mind that comes with well-functioning, quiet stopping power. Remember, a little effort in bike brake troubleshooting can go a long way in ensuring your safety and enjoyment on every ride.