
Does your bike’s bike brake noise make you wince every time you slow down? You’re not alone! Noisy bicycle brakes are a common annoyance for cyclists. Fortunately, you can often stop squeaky brakes with a few simple fixes. This guide will walk you through the common causes of loud bike brakes and provide easy steps to fix brake squeal and eliminate brake noise. We’ll cover both rim brakes and disc brakes, offering practical advice for everyone. Regular bicycle brake maintenance is key to a quiet and effective ride.
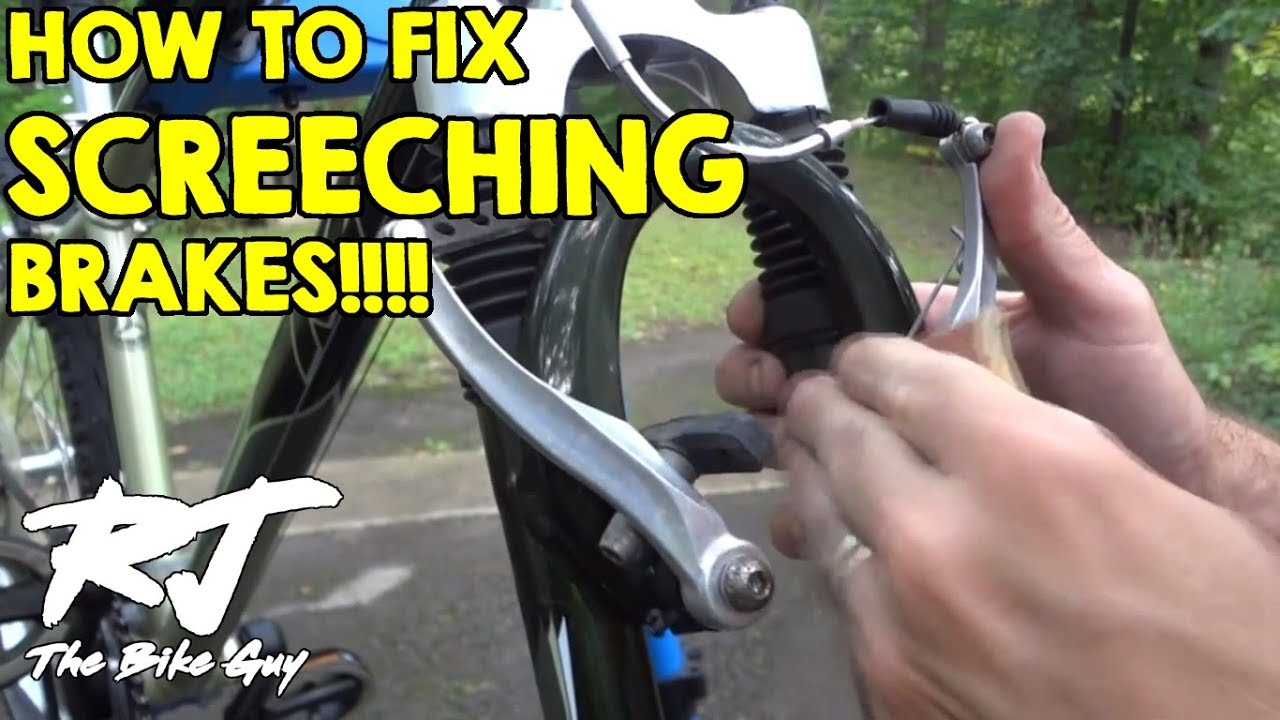
Image Source: i.ytimg.com
Why Do Bike Brakes Squeal?
Several factors can contribute to that dreaded disc brake squeak or rim brake noise. It’s usually a sign that something isn’t quite right with your braking system. The squeal is essentially a vibration. When your brake pads press against the rotor (disc brakes) or rim (rim brakes), they can vibrate at a high frequency. This vibration is what we hear as a squeal.
Here are the most common culprits:
- Contamination: This is perhaps the most frequent cause of squeaky brakes. Oil, grease, cleaning solvents, or even road grime can get onto your brake pads and rotors/rims. This contamination changes the friction between the pad and the braking surface, leading to vibrations and noise.
- Glazed Brake Pads: Over time, especially with heavy braking or if they’ve been contaminated, brake pads can become “glazed.” This means a hard, shiny layer forms on the surface of the pad. This glaze prevents the pad from gripping effectively and can cause it to vibrate and squeal.
- Misaligned Brake Calipers: If your brake calipers aren’t perfectly aligned with the rotor or rim, the brake pads might not be making even contact. This uneven contact can cause vibrations and a persistent squeal.
- Worn Brake Pads: While not always the primary cause of squealing, very worn brake pads might not have enough material to make good contact. Some brake pads have wear indicators that will squeal when they’re getting low, alerting you to replace them.
- Moisture and Debris: Even a little bit of water, mud, or grit on your braking surfaces can cause temporary squealing. This is often more noticeable in wet conditions.
- Improper Pad Bedding-In: New brake pads, especially for disc brakes, need to be “bedded in.” This is a process of gradually heating the pads and rotors to create an even transfer layer of pad material onto the rotor. If this isn’t done correctly, squealing can occur.
- Hardware Issues: Sometimes, loose bolts or improperly seated components can contribute to vibrations that manifest as brake noise.
Fixing Squeaky Rim Brakes
Rim brakes are found on many older bikes and some newer commuter or road bikes. They work by squeezing brake pads against the metal rim of your wheel.
Step 1: Inspect Your Brake Pads
Your first port of call for rim brake noise is your brake pads.
- Check for Wear: Look at the brake pads. Most have small grooves or wear lines. If these are gone, or the pad material is very thin, it’s time for new pads.
- Look for Embedded Debris: Small stones or grit can get stuck in the brake pad material. Carefully inspect the surface of the pads. If you see anything embedded, try to gently remove it with a soft brush or a small pick (like a dental pick or a thin screwdriver). Be careful not to damage the pad.
- Assess for Glazing: Does the surface of the pad look shiny and hard? This is glazing.
Step 2: Clean the Braking Surfaces
Contamination is a major cause of squealing. You need to clean both the brake pads and the rim.
- Clean the Rims:
- You’ll need a clean rag, some isopropyl alcohol (rubbing alcohol), or a bike-specific degreaser.
- Apply the alcohol or degreaser to the rag.
- Wipe down the braking surface of your rims thoroughly. Make sure you get all the way around the rim on both sides.
- Spin the wheel and check the rim for any obvious dirt, grease, or debris. Repeat cleaning if necessary.
- Allow the rims to dry completely.
- Clean the Brake Pads:
- You can try cleaning the pads with isopropyl alcohol and a rag.
- If the pads are glazed, you might need to lightly scuff them. You can use a piece of fine-grit sandpaper (around 220-320 grit) or a specialized brake pad file.
- Gently sand the surface of the brake pad until it looks dull and you no longer see a shiny glaze. Don’t overdo it; you just want to remove the glaze.
- Wipe away any dust with a clean rag.
Step 3: Check and Adjust Caliper Alignment
If cleaning doesn’t solve the issue, your brake calipers might be misaligned. This means the pads aren’t hitting the rim squarely.
- Visual Check: Spin the wheel and observe where the brake pads meet the rim.
- Ideally, the pads should contact the rim about halfway up the braking surface, not too close to the tire or the spokes.
- The pads should hit the rim at the same time and with even pressure.
- Adjusting the Caliper:
- Most rim brakes have adjustment screws.
- Toe-In Adjustment: Many experienced mechanics recommend a slight “toe-in” for rim brake pads. This means the front of the pad touches the rim a fraction of a second before the rear of the pad. This helps reduce squeal and improve braking modulation. To achieve this, you’ll typically loosen the bolt that holds the brake pad in place, position the pad with a slight forward angle, and then retighten the bolt. You might need a small shim or spacer to get this angle right, or some brake calipers have built-in adjustment mechanisms.
- Centering: If the caliper is off-center, meaning it’s pulling more to one side than the other, you can usually adjust this. There are usually small adjustment screws on the caliper arms, or sometimes a barrel adjuster on the brake lever or cable housing. Tighten or loosen these to center the caliper so that both pads are equidistant from the rim when the brake is not applied.
- Cable Tension: If your brakes feel too loose or too tight, you might need to adjust the cable tension using the barrel adjuster at the brake lever or caliper.
Step 4: Consider Pad Compound
Not all brake pads are created equal. The material they are made from can affect noise.
- Harder Compounds: Sometimes, harder brake pad compounds can be more prone to squealing, especially if they are not perfectly aligned or if there’s any contamination.
- Softer Compounds: Softer rubber compounds tend to be quieter but may wear out faster and can be more susceptible to contamination.
- Material Compatibility: Ensure your brake pads are compatible with your rim surface (e.g., aluminum rims require different pads than carbon rims). If you’ve recently changed your rims or pads, double-check compatibility.
Step 5: Bedding-In Rim Brake Pads (If New or Scuffed)
Even rim brake pads can benefit from a proper bedding-in process, especially if they are new or have been sanded.
- Find a safe, open area.
- Gently apply your brakes while riding downhill or rolling.
- Gradually increase the pressure and speed of braking.
- Do about 10-20 moderate stops, allowing the brakes to cool slightly between stops.
- The goal is to transfer a thin, even layer of pad material onto the rim.
Fixing Squeaky Disc Brakes
Disc brakes are more complex and often more prone to squealing, especially when contaminated. The principles of cleaning and alignment are similar, but the execution differs.
Step 1: Identify the Source of the Squeal
With disc brakes, the squeal can come from the brake pads, the rotor, or even the caliper itself.
- Pad Contamination: Oil, grease, or chain lube are common culprits.
- Rotor Contamination: Similar to pads, rotors can get contaminated.
- Glazed Pads/Rotors: The friction surface can become glazed.
- Improper Bedding-In: New pads and rotors need to be bedded in.
- Loose Components: Bolts holding the rotor to the hub or the caliper to the frame can loosen.
- Rotor Damage/Warping: A bent rotor can cause inconsistent contact.
- Pad Material: Different pad compounds behave differently.
Step 2: Clean Disc Brake Pads and Rotors
This is the most critical step for disc brake squeak.
- Remove the Wheels: For thorough cleaning, it’s best to remove the wheels.
- Remove the Brake Pads: This is usually a straightforward process. You’ll need to unbolt the brake caliper (usually two bolts) and then carefully slide out the brake pads. There might be a retaining clip holding them in. Keep track of how they came out.
- Clean the Brake Pads:
- Use isopropyl alcohol and a clean rag to wipe down the pad material.
- If glazed, lightly sand the pad surface with fine-grit sandpaper (220-320 grit) until the shiny glaze is gone.
- Wipe away dust with a clean rag.
- Clean the Rotors:
- Use a dedicated disc brake cleaner spray. If you don’t have this, isopropyl alcohol is a good alternative.
- Spray the cleaner onto a clean rag and wipe down both sides of the rotor thoroughly.
- Avoid touching the rotor surface with your bare hands after cleaning, as skin oils can contaminate it.
- Let the rotor dry completely.
- Reassemble:
- Carefully put the brake pads back into the caliper.
- Re-bolt the caliper to the frame, ensuring the pads are positioned correctly around the rotor. Do not overtighten the caliper bolts yet.
- Spin the wheel to ensure the rotor spins freely without rubbing.
- Now, tighten the caliper bolts evenly.
Step 3: Bed-In Your Disc Brake Pads
This is crucial for optimal performance and to eliminate brake noise.
- Find a Safe Area: A long, gentle downhill slope or an empty path is ideal.
- The Process:
- Start at a moderate speed (e.g., 10-15 mph).
- Firmly apply the brake, but don’t lock up the wheel. You want to slow down significantly but not stop completely.
- Release the brake and let the wheel spin freely.
- Repeat this process about 10-20 times.
- Try to get the brakes slightly warm. You should feel them working effectively.
- Why it Works: Bedding-in transfers a thin, even layer of pad material onto the rotor surface. This creates a consistent friction surface, which reduces vibrations and noise. It also helps the pad material bond properly to the pad backing.
Step 4: Check and Adjust Disc Brake Caliper Alignment
Misalignment is a very common cause of disc brake squeak.
- Visual Check: With the wheel installed and the brake lever squeezed (you might need to wedge something in to hold the lever), look at how the pads are positioned relative to the rotor.
- The rotor should be centered between the two brake pads.
- Neither pad should be rubbing on the rotor when the brake is not applied.
- Adjusting the Caliper:
- Loosen Caliper Bolts: Loosen the two bolts that hold the brake caliper to the frame slightly (just enough so the caliper can move).
- Squeeze the Brake Lever: Squeeze the brake lever firmly. This will pull the caliper into its most centered position against the rotor.
- Tighten Caliper Bolts: While holding the brake lever squeezed, carefully tighten the caliper bolts one at a time, alternating between them. This ensures the caliper stays aligned as you tighten.
- Release Lever and Test: Release the brake lever. Spin the wheel and listen for any rubbing. If there’s still rubbing, you may need to make very small adjustments to the caliper position manually before tightening the bolts again.
- Fine-Tuning: Sometimes, minor adjustments to the caliper mounting posts (if your brakes have them) can help. There are often small screws on the back of the caliper that adjust the position of the inner and outer pads relative to the rotor.
Step 5: Inspect Rotors and Pads
- Rotor Trueness: Spin the wheel and watch the rotor. If it wobbles or looks bent, it can cause rubbing and noise. Minor wobbles can sometimes be corrected by carefully bending the rotor back into place with a rotor truing tool or a specialized wrench. However, significantly bent rotors may need replacement.
- Pad Material:
- Sintered (Metallic) Pads: These are more durable and perform better in wet conditions but can be noisier and are more prone to glazing.
- Resin (Organic) Pads: These are generally quieter and bed in more easily but wear out faster and can fade in very hot conditions.
- If you’ve recently switched pad types, this might be the cause of new noise.
- Brake Pad Lubrication (Caution!): While some automotive brakes use lubricant on the back of brake pads or between pads and caliper pistons, this is generally NOT recommended for bicycle brakes, especially disc brakes. Brake pad lubrication on the friction surface will severely degrade braking performance and contaminate your entire system. If you’re lubricating anything, it’s usually the caliper mounting bolts or piston seals, and only with specific bicycle-specific brake grease.
Step 6: Address Hardware Issues
- Rotor Bolts: Ensure the bolts that attach the rotor to the wheel hub are tight and haven’t come loose. Use a torque wrench if possible to tighten them to the manufacturer’s specifications.
- Caliper Mounting Bolts: Make sure the bolts holding the caliper to the frame are secure.
Troubleshooting Common Squeaks
| Problem | Cause | Solution |
|---|---|---|
| Squeaky Rim Brakes | Contaminated pads/rim, glazed pads, misalignment, worn pads. | Clean rims and pads (sand pads if glazed). Check alignment and adjust for toe-in. Replace worn pads. |
| Squeaky Disc Brakes | Contaminated pads/rotor, glazed pads, improper bedding-in, caliper misalignment. | Clean pads and rotor with isopropyl alcohol/disc cleaner. Bed in new pads. Align caliper by loosening, squeezing lever, and retightening. Lightly sand pads if glazed. Check rotor for damage. |
| High-pitched Squeal (constant) | Usually indicates slight rubbing of rotor/rim against pads when not braking. | Adjust caliper alignment so rotor/rim is centered and not touching pads. |
| Squeal only when braking hard | Often due to pad material or inadequate bedding-in. | Bed in pads thoroughly. Consider a different pad compound. Ensure pads are clean and rotors are clean. |
| Squeal in wet conditions | Moisture and debris on braking surfaces. | Clean braking surfaces. This noise often subsides as the brakes dry out and clear debris. |
| Sudden new squealing | Likely contamination (oil, lube) or a new component installed incorrectly. | Thoroughly clean pads and rotors. Re-bed new components. Inspect for any new oil leaks. |
| Grinding noise instead of squeal | Worn-out pads with the metal backing plate contacting the rotor/rim. | Immediate stop! Replace brake pads immediately. Riding with worn pads can damage your rotors/rims. |
Preventing Future Brake Noise
Once you’ve got your brakes running quietly, here are some tips to keep them that way:
- Avoid Contamination:
- Be careful when applying chain lube. Use a lube applicator and wipe off any excess that might drip onto your wheels or brakes.
- When cleaning your bike, use bike-specific cleaners and degreasers. Avoid spraying them directly onto your braking surfaces. Spray onto a rag first.
- Store your bike away from excessive dust or dirt.
- Regular Cleaning: Periodically clean your rims (for rim brakes) or rotors and pads (for disc brakes) with isopropyl alcohol.
- Inspect Pads Regularly: Check your brake pads for wear and embedded debris every few weeks or before a long ride.
- Proper Bedding-In: Always bed in new brake pads and rotors properly.
- Correct Alignment: Ensure your calipers are always properly aligned.
- Storage: If you store your bike for long periods, consider covering the wheels to prevent dust buildup.
What if the Squeal Persists?
If you’ve tried all these steps and your brakes are still making unwelcome noises, it might be time to consult a professional bike mechanic. There could be more complex issues at play, such as:
- Warped Rotors: Rotors that are significantly bent may need to be replaced.
- Damaged Caliper Pistons: In disc brakes, sometimes the pistons can become stiff or damaged, leading to uneven braking and noise.
- Hydraulic Fluid Issues: For hydraulic disc brakes, air in the system or contamination of the hydraulic fluid can cause problems. This often requires a brake bleed.
- Internal Brake Issues: There could be internal wear or damage within the brake system components themselves.
Frequently Asked Questions (FAQ)
Q1: Can I use WD-40 on my bike brakes?
A1: No! WD-40 is a lubricant and solvent that will contaminate your brake pads and rotors/rims, making your brakes less effective and likely causing squealing. Stick to isopropyl alcohol or dedicated brake cleaner.
Q2: How often should I clean my bike brakes?
A2: It depends on your riding conditions. If you ride in dusty or wet conditions, cleaning your braking surfaces (rims or rotors) every few weeks or after particularly dirty rides is a good idea. A quick wipe with alcohol on the rotors can be done more frequently.
Q3: Do I need to bed-in rim brakes?
A3: While not as critical as with disc brakes, bedding-in rim brake pads, especially if they are new or if you’ve just cleaned/scuffed them, can improve their performance and reduce noise.
Q4: What is brake pad lubrication for on bicycles?
A4: On disc brakes, specific, high-temperature brake grease is sometimes applied very sparingly to the back of the brake pads or between the pads and the caliper pistons. This is to prevent vibration and noise originating from the pad backing or piston interface, NOT on the friction surface of the pad or rotor. For rim brakes, lubricant is generally not used directly on the pads or rim.
Q5: My new bike’s brakes are squealing. What should I do?
A5: New bikes often require the brake pads to be bedded in. Follow the bedding-in procedure outlined above. If the squeal persists after proper bedding-in, check for any obvious contamination or misalignment, or contact the bike shop where you purchased the bike.
Q6: Can I ride my bike with squeaky brakes?
A6: While a minor squeal might just be an annoyance, a loud grinding or squealing could indicate that your brakes are not performing at their best. It’s always best to address brake noise promptly to ensure safe and effective stopping power. If you hear a grinding sound, stop riding immediately as your pads are likely worn through to the metal.
By following these steps, you can effectively diagnose and fix most instances of bike brake noise, ensuring a quieter, safer, and more enjoyable cycling experience. Remember that consistent bicycle brake maintenance is the key to preventing these common issues.