
Can you assemble bike handlebars yourself? Absolutely! With the right tools and a step-by-step approach, anyone can tackle bike handlebar installation. This comprehensive guide will walk you through the entire process, from preparing your workspace to making final adjustments, ensuring your bike handlebars are securely mounted and ready for your next ride. We’ll cover everything from installing a new bike stem to replacing your existing bicycle handlebars.
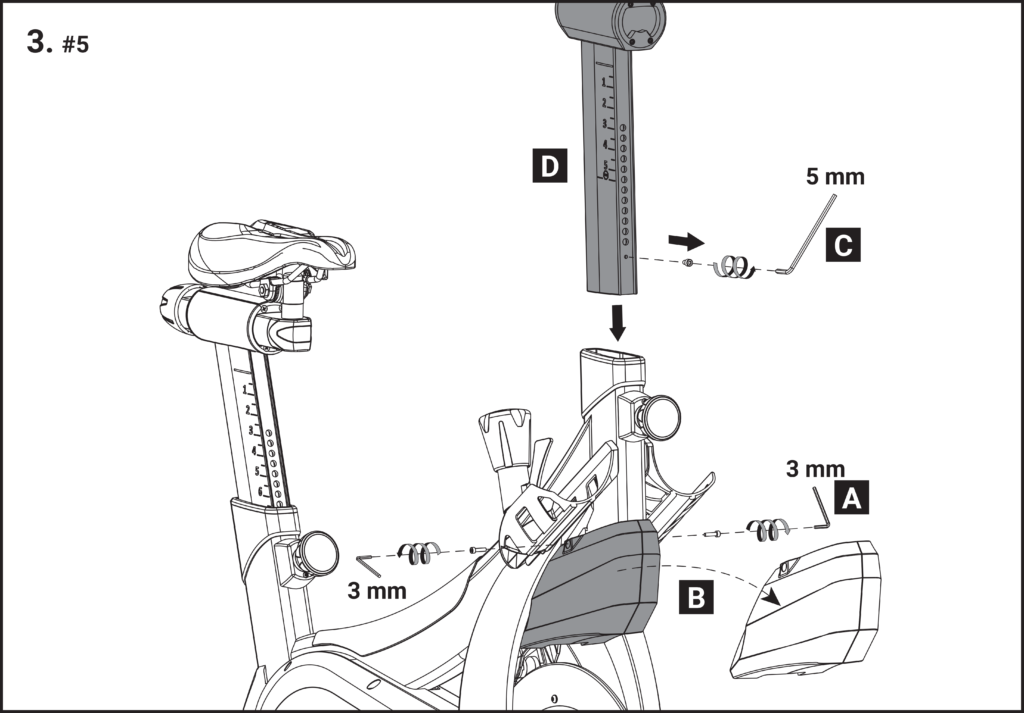
Image Source: manuals.stagesindoorcycling.com
Getting Started: Tools and Preparation
Before you begin attaching bike handlebars, gather all the necessary tools and prepare your workspace. This ensures a smooth and efficient process.
Essential Tools for Bike Handlebar Installation
Having the right tools makes the job much easier and safer.
- Hex Wrench Set (Allen Keys): These are crucial for most bolts found on bike stems and handlebars. You’ll likely need sizes ranging from 3mm to 6mm.
- Torque Wrench: This is highly recommended for ensuring you tighten bolts to the manufacturer’s specifications. Over-tightening can damage components, while under-tightening can lead to dangerous looseness.
- Screwdrivers: A Phillips head and a flathead screwdriver might be needed for certain adjustments or accessories.
- Grease (or Anti-Seize Compound): A light application of grease on bolt threads and contact surfaces prevents seizing and corrosion.
- Rags or Paper Towels: For cleaning components and wiping away excess grease.
- Work Stand (Optional but Recommended): This elevates your bike, making it much easier to work on.
- Gloves (Optional): To keep your hands clean.
- Safety Glasses (Optional but Recommended): To protect your eyes from debris or grease.
Preparing Your Workspace
A clean and organized workspace is key to a successful DIY project.
- Choose a well-lit area: Good lighting helps you see what you’re doing and avoid mistakes.
- Clear the clutter: Ensure you have enough space to lay out your tools and bike parts without tripping or knocking things over.
- Protect your floor: Lay down a drop cloth or old newspapers if you’re working indoors, especially if grease is involved.
The Basics: Before You Begin
There are a few things to consider before you dive into the actual bike handlebar installation.
Compatibility Check: Handlebar and Stem
Not all handlebars and stems are compatible. It’s essential to ensure your new handlebars will fit your existing stem, or vice-versa, if you’re replacing both.
- Handlebar Clamp Diameter: This is the most critical measurement. It refers to the diameter of the section of the handlebar that clamps into the stem. Common sizes are 25.4mm, 31.8mm, and 35mm. Measure your old handlebar where it meets the stem, or check the specifications for both parts.
- Handlebar Width and Rise: While not about compatibility for mounting, these affect your riding position and comfort. Choose a width and rise that suits your riding style and body.
- Stem Clamp Diameter: This is the diameter of the steerer tube clamp on your stem, which attaches to your fork. Most modern bikes use a 1 1/8″ (28.6mm) steerer tube clamp. Older bikes might use 1″ or 25.4mm.
- Stem Quill or Threadless: Stems come in two main types: quill (older bikes, inserts into the steerer tube) and threadless (newer bikes, clamps around the steerer tube). Make sure you have the correct type for your bike.
Deciphering Your Current Setup
If you’re performing a bicycle handlebar replacement, it’s helpful to understand how your current setup is assembled.
- Quill Stem: These have a single bolt on top of the stem that, when tightened, pushes a wedge down to secure the stem in the steerer tube. Loosening this bolt and tapping the top allows you to remove the stem.
- Threadless Stem: These have several bolts. Typically, two bolts secure the handlebars (faceplate bolts), and one or two bolts clamp around the steerer tube. You might also find a top cap bolt that holds the headset assembly together.
Step-by-Step: Attaching Bike Handlebars to a Threadless Stem
This is the most common type of bike handlebar installation on modern bicycles.
Step 1: Removing the Old Handlebars (If Applicable)
If you’re doing a bicycle handlebar replacement, start here.
- Loosen the Faceplate Bolts: Locate the bolts on the front of the stem that hold the handlebars in place. These typically come in sets of two or four. Loosen them evenly, a little at a time, alternating between bolts.
- Carefully Remove the Faceplate: Once the bolts are loose enough, the faceplate should come off. Gently wiggle the handlebars out of the stem clamp.
- Set Aside Components: Keep the faceplate and bolts together so you don’t lose them.
Step 2: Preparing the New Handlebars and Stem
Ensure both components are clean and ready for installation.
- Clean Handlebars: Wipe down your new handlebars, especially the clamping area, to remove any grease or debris.
- Inspect Stem: Check the inside of the stem clamp for any rough edges or debris. Clean it out if necessary.
Step 3: Positioning the Handlebars
Getting the handlebars centered is crucial for an even setup.
- Center the Handlebars: Place the new handlebars into the stem clamp. Most handlebars have markings or knurling in the center to help you position them.
- Roughly Align: Get the handlebars roughly centered. You’ll fine-tune this later.
Step 4: Installing the Stem Faceplate
Now it’s time to secure the handlebars.
- Place the Faceplate: Position the stem faceplate over the handlebar clamp, aligning the bolt holes.
- Insert and Hand-Tighten Bolts: Insert the bolts through the faceplate and into the stem. Hand-tighten them for now.
Step 5: Initial Tightening and Alignment
This is where you start to snug things up and get your handlebars straight.
- Even Tightening: Using your hex wrench, start tightening the faceplate bolts. Tighten them in a star pattern (like tightening lug nuts on a car wheel), gradually tightening each bolt a little at a time. This ensures even pressure.
- Check for Straightness: Look from above and from the side to ensure the handlebars are straight relative to your front wheel and stem. Adjust as needed.
- Snug, Don’t Overtighten: Get the handlebars snug enough that they don’t move when you apply gentle pressure, but don’t fully torque them yet.
Step 6: Final Tightening with a Torque Wrench
This is the most critical step for securing bicycle handlebars safely.
- Set Your Torque Wrench: Consult your stem and handlebar manufacturer’s specifications for the correct torque value. This is usually printed on the stem or in the product manual. Common torque values for handlebar clamps are around 4-6 Nm.
- Tighten Bolts in Star Pattern: Using the torque wrench, tighten the faceplate bolts in the same star pattern you used for initial tightening.
- Listen for the Click: When the torque wrench reaches the set value, it will usually click or release. Stop tightening at this point.
- Go Around Again: After reaching the correct torque on all bolts, it’s good practice to go around one more time to confirm they are all still at the specified torque.
Step 7: Installing the Stem Top Cap (Threadless Systems)
The top cap and bolt manage the headset’s preload.
- Remove Top Cap Bolt (If Removed): If you removed the top cap bolt to get the old stem off, put it back in.
- Install Top Cap: Place the top cap onto the steerer tube.
- Insert and Lightly Tighten Top Cap Bolt: Thread the top cap bolt into the star nut inside the steerer tube. Tighten it just enough so there is no play in the headset, but the steering is still smooth. You should not be able to move the fork up and down by holding the front brake and rocking the bike.
- Align Stem with Wheel: Ensure the stem is perfectly aligned with the front wheel.
- Tighten Stem Steerer Clamp Bolts: Now, tighten the bolts on the back or side of the stem that clamp onto the steerer tube. Again, tighten these evenly and in a star pattern. Consult your stem’s specifications for the correct torque, typically around 5-6 Nm.
Step-by-Step: Attaching Bike Handlebars to a Quill Stem
This method applies to older bikes or some commuter/city bikes.
Step 1: Removing the Old Handlebars (If Applicable)
- Loosen the Top Bolt: Locate the single bolt on the very top of the quill stem. Loosen this bolt completely, but do not remove it – it will likely stay attached to the stem’s expander wedge.
- Remove the Stem: Once the top bolt is loose, you should be able to pull the handlebars and stem upwards and out of the steerer tube. If it’s stuck, you might need to tap the top of the bolt head gently with a rubber mallet or a block of wood to loosen the expander wedge.
Step 2: Preparing the New Handlebars and Stem
- Clean Components: Wipe down your new handlebars and the inside of the quill stem.
Step 3: Positioning the Handlebars
- Insert Handlebars into Stem: Place the handlebars into the stem clamp as you did with a threadless system.
- Align Roughly: Get the handlebars roughly centered and at a comfortable initial angle.
Step 4: Installing the Quill Stem
- Insert Stem into Steerer Tube: Carefully slide the quill stem into the bike’s steerer tube. Aim for a similar insertion depth as the original stem, if possible. There’s usually a minimum insertion line that you must not go below.
- Loosely Insert Top Bolt: Put the top bolt back in, threading it into the expander wedge, but don’t tighten it yet.
Step 5: Initial Alignment and Tightening
- Straighten Handlebars: With the bike on the ground or on a stand, align the handlebars with the front wheel.
- Tighten Top Bolt: Begin tightening the top bolt. As you tighten, the expander wedge will be pulled upwards, widening at the bottom and securing the stem in the steerer tube.
- Adjust Height: You can adjust the height of your handlebars by loosening the top bolt slightly, tapping the top of the bolt head to release the wedge, sliding the stem up or down, and then re-tightening.
Step 6: Final Tightening and Securing Bicycle Handlebars
- Torque Specification: While quill stems don’t always have a specific torque value listed, they should be securely tightened. The top bolt is what holds the stem in place. Aim for a firm tightness that prevents any movement but doesn’t strip the threads. A snug feel is often sufficient, but if you have a torque wrench that can measure, aim for around 20-25 Nm for the top bolt (confirm with any manufacturer guidance).
- Check for Movement: Try to twist the handlebars. They should not move independently of the fork and front wheel.
Mounting Bicycle Handlebars: Fine-Tuning and Adjustments
Once the handlebars are mounted, you’ll want to fine-tune their position for comfort and control. This is part of bicycle handlebar adjustment.
Finding Your Ideal Position
- Sweep Angle: This refers to how far the handlebars are rotated backward towards you.
- Up-Sweep: This is the angle of the ends of the handlebars relative to the horizontal plane.
- Roll Angle: This is the rotation of the handlebars around their own axis.
Adjusting for Comfort
- Slight Rotations: Loosen the stem faceplate bolts (or the quill stem bolt) slightly.
- Make Small Changes: Rotate the handlebars a small amount at a time.
- Test Ride: Go for a short ride to see how the new position feels. Make small adjustments and repeat until you find a comfortable and efficient position.
- Re-Tighten Securely: Once you’re happy with the position, re-tighten all bolts to the specified torque.
Stem Angle and Height Adjustment (Threadless Systems)
- Spacers: On threadless systems, you can change the height of your handlebars by rearranging the headset spacers above or below the stem. Adding spacers below the stem will lower the handlebars, and adding them above will raise them.
- Stem Angle: Some stems are designed to be flipped to offer a different angle (e.g., a negative rise becomes a positive rise), which also affects handlebar height and reach.
Bicycle Handlebar Replacement: Specific Considerations
When performing a bicycle handlebar replacement, you might encounter unique situations.
Removing Old Grips or Bar Tape
- Grips: For rubber grips, you can often slide them off with some effort. If they’re stuck, a blast of compressed air under the grip can help break the seal. Alternatively, you can carefully cut them off with a sharp blade (be careful not to cut into the handlebar itself).
- Bar Tape: Start unwrapping from the ends. You might find the tape secured with adhesive or a small piece of tape.
Installing New Grips or Bar Tape
- Grips: Apply a small amount of alcohol or grip-specific adhesive to the inside of the grip and the handlebar. Slide the grip on, twisting gently. Allow any adhesive to dry according to its instructions.
- Bar Tape: Start wrapping from the ends of the handlebars, overlapping the tape as you go. Secure the end with the provided finishing tape or electrical tape.
Torque Values: A Crucial Table
Here’s a general guide to common torque values. Always refer to the manufacturer’s specifications for your specific components.
| Component | Typical Torque Range (Nm) | Notes |
|---|---|---|
| Stem Faceplate Bolts | 4 – 6 Nm | For handlebars |
| Stem Steerer Clamp | 5 – 6 Nm | For threadless stems clamping onto steerer tube |
| Quill Stem Top Bolt | 20 – 25 Nm | Secures stem in steerer tube |
| Brake/Shifter Levers | 4 – 6 Nm | Varies greatly by brand and model |
| Accessory Mounts | 2 – 5 Nm | Lights, computers, etc. |
Table 1: Common Torque Values for Handlebar Installation
Common Issues and Troubleshooting
Even with careful assembly, you might run into minor problems.
Handlebars Slipping
If your handlebars slip after tightening, the most likely cause is insufficient torque or contamination on the clamping surfaces.
- Check Torque: Ensure you’ve tightened the bolts to the manufacturer’s recommended torque using a torque wrench.
- Clean Surfaces: Remove the handlebars and thoroughly clean both the clamping area of the handlebar and the inside of the stem clamp with a degreaser and a clean rag.
- Use Carbon Paste (for Carbon Components): If either your handlebars or stem are made of carbon fiber, use a carbon-specific assembly paste (grip paste). This is a gritty paste that increases friction without requiring excessive clamping force.
Handlebars Not Straight
This usually happens during the initial alignment phase.
- Re-align: Loosen the faceplate bolts slightly and re-align the handlebars with the front wheel.
- Tighten Evenly: Ensure you’re tightening the bolts evenly in a star pattern.
Difficulty Removing Old Components
- Quill Stem Stuck: For a stuck quill stem, try spraying some penetrating oil around the area where the stem enters the steerer tube. Let it sit for a while. Gently tapping the top of the bolt head with a rubber mallet can help break the wedge free. If it’s still stuck, you might need a specialized stem removal tool.
- Seized Bolts: For any seized bolts, penetrating oil can help. Gentle persuasion with a wrench might be needed, but be careful not to strip the bolt head.
Frequently Asked Questions (FAQ)
Here are answers to some common questions about how to assemble bike handlebars.
How tight should bike handlebars be?
Bike handlebars should be tightened to the specific torque value recommended by the manufacturer of your stem and handlebars. Overtightening can damage components (especially carbon fiber), while undertightening can lead to dangerous slipping. Using a torque wrench is the best way to ensure proper tightness.
How do I know what size handlebar clamp I need?
The handlebar clamp diameter is the diameter of the part of the handlebar that inserts into the stem. You can measure it on your existing handlebars where they enter the stem, or check the specifications of your current stem. Common sizes are 31.8mm and 35mm for mountain bikes, and 25.4mm or 31.8mm for road and hybrid bikes.
Can I use a torque wrench for a quill stem?
While quill stems don’t always come with precise torque specifications like threadless stems, you can still use a torque wrench if you find a recommended range for your specific stem or if you want to ensure consistent tightening. However, the primary concern with quill stems is that the top bolt is securely tightened to hold the stem in place, which often means tightening until it feels firm and secure, but not excessively so to avoid stripping threads.
What is bike handlebar installation?
Bike handlebar installation is the process of attaching bicycle handlebars to the bike’s stem. This can involve replacing existing handlebars, installing new ones, or assembling a bike from parts. It requires the right tools and careful attention to torque specifications for safety.
How do I adjust my bike handlebars?
Bicycle handlebar adjustment involves rotating the handlebars within the stem clamp to find a comfortable and ergonomic position. You might also adjust stem height or angle using spacers or by flipping the stem on threadless systems. After making adjustments, always re-tighten the stem bolts securely.
What does installing bike stem mean?
Installing a bike stem means attaching the stem to the fork’s steerer tube and then attaching the handlebars to the stem. It’s a fundamental part of bike assembly and handlebar replacement.
What is involved in attaching bike handlebars?
Attaching bike handlebars involves securing them to the stem using bolts and a faceplate. For threadless stems, this includes aligning the stem with the fork’s steerer tube and tightening the steerer clamp bolts, as well as managing the headset preload with the top cap.
What is mounting bicycle handlebars?
Mounting bicycle handlebars is synonymous with attaching bike handlebars. It refers to the entire process of connecting the handlebars to the bike’s steering column via the stem.
What does fitting bike handlebars entail?
Fitting bike handlebars means not only securely attaching them but also adjusting their position and angle to suit the rider’s comfort, control, and riding style. It’s a crucial step in setting up a bike for optimal performance.
What is securing bicycle handlebars?
Securing bicycle handlebars means ensuring they are firmly fixed to the stem and will not move or slip during riding. This is achieved by properly tightening all the bolts to the manufacturer’s specifications, often using a torque wrench.
What is bicycle handlebar replacement?
Bicycle handlebar replacement is the process of removing old or damaged handlebars and installing new ones. This usually involves removing grips or bar tape, loosening the stem, removing the old handlebars, installing the new ones, and then re-securing everything.
How do you put on bike handlebars?
To put on bike handlebars, you align them in the stem clamp, install the stem faceplate, and tighten the faceplate bolts evenly to the correct torque. If it’s a threadless system, you also need to align the stem with the wheel and tighten the steerer clamp bolts and top cap bolt.
What is tightening bike handlebars?
Tightening bike handlebars refers to the act of fastening the bolts that hold the handlebars in the stem. This must be done to the correct torque to ensure they are secure and do not slip.
What is bicycle handlebar adjustment?
Bicycle handlebar adjustment is the process of fine-tuning the position and angle of the handlebars for rider comfort and control after they have been mounted. This might involve small rotations or significant changes in height and reach.
By following these steps and paying attention to the details, you can confidently assemble, install, or replace your bike handlebars, ensuring a safe and enjoyable riding experience. Happy cycling!