
Does your bike sound like a flock of angry geese every time you slow down? You’re not alone. Brake noise, particularly squeaky bicycle brakes, is a common annoyance for cyclists. But what causes this racket, and can you actually fix it? Yes, you can! Most bike brake squeal stems from vibration, and addressing its root cause can lead to quiet, reliable braking.
This guide will dive deep into why your brakes might be making that dreadful noise and provide step-by-step solutions for both rim brakes and disc brakes. We’ll cover everything from cleaning to simple adjustments, ensuring you can enjoy a silent ride.
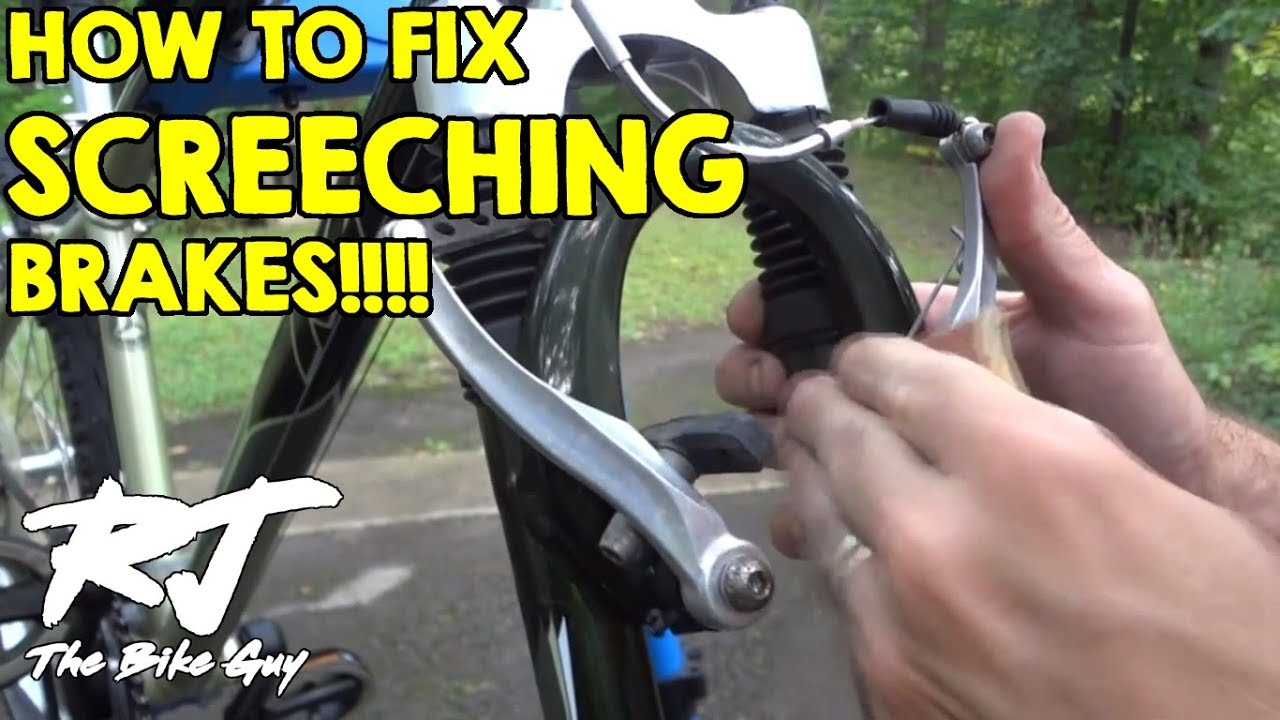
Image Source: i.ytimg.com
Why Do Bike Brakes Squeal?
The primary culprit behind noisy bike brakes is vibration. When your brake pads contact your wheel rim or rotor, friction is generated. If this friction causes components to vibrate at specific frequencies, you hear that tell-tale squeal. Several factors contribute to these vibrations:
- Contamination: Oil, grease, dirt, or brake fluid can get onto your brake surfaces. This contamination alters the friction coefficient and can lead to uneven contact and vibration.
- Misalignment: If your brake pads aren’t hitting the rim or rotor squarely, it can cause them to stutter and vibrate.
- Glazed Pads or Rotors: Over time, brake pads and rotors can develop a glazed surface. This smooth, hardened layer reduces friction and increases the likelihood of vibration.
- Worn Pads: Severely worn brake pads may not have enough material to make consistent contact, leading to vibration.
- Improper Pad Compound: Some brake pad compounds are inherently noisier than others, especially in certain weather conditions.
- Moisture and Debris: Water, mud, and grit can get trapped between the pad and the braking surface, causing squealing, especially in wet conditions.
- Damaged Components: Bent rotors, warped rims, or damaged brake pads can also introduce vibrations.
Fixing Rim Brake Squeal
Rim brakes, the traditional caliper-style brakes found on many road and older mountain bikes, are susceptible to a variety of squeaking issues. The braking surface here is the outer edge of your wheel rim.
H3: Cleaning Bike Brakes: The First Line of Defense
Contamination is one of the most frequent causes of brake pad squeal in rim brakes. Even a tiny amount of grease or oil can drastically affect performance and lead to noise.
H4: Cleaning Your Rims
- Gather Supplies: You’ll need a clean rag, isopropyl alcohol (rubbing alcohol), and a degreaser (like dish soap or a bicycle-specific degreaser).
- Initial Wipe-Down: Use a dry rag to remove any loose dirt or debris from the rim braking surface.
- Degrease: Apply a small amount of degreaser to a clean rag and wipe down the entire braking surface of the rim. Work your way around the rim, ensuring you cover the area where the brake pads make contact.
- Rinse and Dry: If you used a strong degreaser, rinse the rim with water and dry it thoroughly with a clean cloth. If you used just soap and water, a good wipe-down to remove residue is sufficient.
- Alcohol Wipe: For a deep clean, use a fresh rag dampened with isopropyl alcohol to wipe down the braking surface again. This removes any residual oils or contaminants.
H4: Cleaning Your Brake Pads
Your brake pads themselves can also get contaminated.
- Remove Pads: For most rim brakes, you can often remove the brake pads without taking off the wheel. Loosen the retaining nut or bolt holding the pad in place.
- Inspect for Damage: Check if the pads are worn down too far (look for the wear indicator lines) or if they have embedded debris.
- Clean or Replace:
- Minor Contamination: If the pads look relatively clean but might have a bit of grime, you can try carefully scraping off any visible debris with a small, flat tool like a dull knife or screwdriver. Then, wipe them down with isopropyl alcohol.
- Glazed Pads: If the braking surface of the pad looks shiny and smooth (glazed), you can try scuffing it up. Use a piece of fine-grit sandpaper (around 100-200 grit) to lightly roughen the surface. Be gentle and aim to remove the glaze, not wear down the pad significantly. Wipe away dust with alcohol.
- Heavy Contamination/Wear: If pads are deeply contaminated, excessively worn, or damaged, replacement is the best course of action.
H4: Reinstalling and Adjusting
After cleaning, reinstall the brake pads, ensuring they are correctly aligned.
- Alignment: The brake pad should contact the rim squarely and evenly. It should also be positioned so that it doesn’t touch the tire. Most brake pads have a small amount of adjustment by tilting them slightly before tightening.
- Brake Lever Feel: Squeeze the brake lever. It should feel firm, not spongy. Adjust the cable tension if needed.
H3: Toe-In Adjustment for Rim Brakes
A common cause of rim brake squeal is incorrect pad alignment, specifically how the pad strikes the rim. A slight “toe-in” can often eliminate squeal. This means the front edge of the brake pad hits the rim slightly before the rear edge.
H4: How to Adjust Toe-In
- Locate Pad Bolts: Find the bolts that attach your brake pads to the brake arms.
- Loosen Bolts: Slightly loosen these bolts so the pads can pivot.
- Observe Pad Contact: Spin the wheel and squeeze the brake lever gently. Look at how the pad makes contact with the rim.
- Create Toe-In:
- Method 1 (Shim Technique): Place a thin shim (often made of plastic or included with new pads) between the rear edge of the brake pad and the rim. Then, pivot the pad inwards so it touches the shim. Tighten the pad bolt while holding the shim in place.
- Method 2 (Visual Adjustment): Gently push the rear of the brake pad inward towards the rim until it’s just slightly angled forward.
- Test: Release the brake and spin the wheel. Squeeze the lever again. The front of the pad should touch first, followed quickly by the rest of the pad. Aim for a gap of about 0.5mm to 1mm between the rear of the pad and the rim when the brake is applied.
- Tighten and Repeat: Tighten the pad bolts securely. Test the brakes by spinning the wheel and applying them. Make further small adjustments if necessary.
H3: Checking for Wheel Trueness and Rotor Issues (if applicable)
While less common with traditional rim brakes, a severely out-of-true wheel can cause the rim to wobble significantly, leading to inconsistent brake contact and potentially noise.
- Wheel Wobble: If your wheel wobbles noticeably, it might be causing the brake pads to hit the rim unevenly. Addressing wheel trueness usually requires a spoke wrench and some skill or a visit to a bike shop.
- Damaged Rims: Check the rim braking surface for dents or significant damage. If the rim is damaged, it may need to be replaced.
H3: Brake Pad Bedding-In for Rim Brakes
This process helps create an even transfer of pad material onto the rim surface, which can reduce squealing and improve braking power.
- Clean: Ensure your rims and pads are clean as described earlier.
- Accelerate: Ride your bike at a moderate speed (e.g., 10-15 mph).
- Brake Firmly: Apply the brakes firmly but without locking up the wheel. Hold the brake for a few seconds to generate heat.
- Repeat: Release the brake and accelerate again. Repeat this process 5-10 times. You might feel some initial squealing, but it should lessen as you go.
- Cool Down: Allow the brakes to cool down.
Fixing Disc Brake Squeal
Disc brakes, found on most modern bikes, have their own set of potential squeal culprits, primarily related to the rotor and the brake pads. Disc brake squeal can be particularly persistent if not addressed correctly.
H3: Cleaning Bike Brakes: Disc Brake Edition
Disc brake contamination is notoriously tricky to deal with and is a major source of brake noise. Oil or grease on either the rotor or the pads is a fast track to squeal city.
H4: Cleaning Your Rotors
- Identify Contamination: Look for oily spots or a greasy film on the rotor surface.
- Gather Supplies: You’ll need isopropyl alcohol (90% or higher is best), clean rags (lint-free is ideal), and potentially a bike-specific disc brake cleaner.
- Remove Wheel: It’s easiest to remove the wheel for thorough cleaning.
- Apply Cleaner: Spray isopropyl alcohol directly onto a clean rag and wipe the entire rotor surface. Alternatively, you can spray the cleaner directly onto the rotor, but be mindful of overspray onto other components.
- Scrub Gently: If there’s stubborn grime, you can use a soft brush or a specialized disc brake cleaning tool to scrub the rotor surface.
- Rinse and Dry: Wipe the rotor thoroughly with a clean, dry rag to remove all alcohol and residue. Ensure it’s completely dry before remounting the wheel. Avoid touching the rotor surface with your bare fingers after cleaning.
H4: Cleaning or Replacing Disc Brake Pads
Disc brake pads are even more susceptible to contamination than rim brake pads.
- Remove Pads: This usually involves removing a small retaining pin or bolt, and then the pads can be slid or pried out. Consult your bike’s manual or a video for your specific brake model.
- Inspect Pads:
- Contamination: If pads are oily or greasy, you can try to clean them.
- Glazing: If they look shiny and smooth, they are likely glazed.
- Wear: Check the thickness of the friction material. If it’s very thin or the metal backing plate is close to the rotor, they need replacing.
- Cleaning and Resurfacing Disc Brake Pads:
- Scrape: Use a small, flat tool to gently scrape off any embedded debris.
- Scuff/Sand: For glazed pads, use fine-grit sandpaper (100-200 grit) to lightly roughen the pad surface. Again, be gentle. Wipe away dust with alcohol.
- Soak (Use Caution): Some people soak contaminated pads in isopropyl alcohol for a few hours, then let them dry completely. This can help draw out some contaminants. Ensure they are bone dry before reinstallation.
- When to Replace: If your pads are heavily contaminated, deeply glazed, or worn, replacement is almost always the best and most effective solution. New pads are relatively inexpensive and will guarantee a clean slate.
H4: Reinstalling and Adjusting Disc Brake Pads
- Pad Orientation: Make sure the pads are installed correctly with any springs or clips in place.
- Rotor Alignment: Ensure the rotor is centered within the brake caliper. When you spin the wheel, the rotor should not be rubbing against the brake pads. If it is, you’ll need to adjust the caliper.
- Caliper Alignment: Most hydraulic disc brake calipers can be adjusted.
- Loosen the two bolts that mount the caliper to the frame or fork slightly.
- Squeeze the brake lever firmly. This action should naturally center the caliper over the rotor.
- While holding the lever squeezed, carefully tighten the caliper mounting bolts.
- Release the lever and spin the wheel to check for rubbing. Make fine adjustments as needed.
H3: Dealing with Rotor Warping and Glazing
Warped rotors or excessively glazed rotors can be a significant source of disc brake squeal.
H4: Checking for Rotor Warping
- Spin the Wheel: Slowly spin the wheel and watch the rotor as it passes through the caliper.
- Observe Rubbing: Note if the rotor consistently rubs against the pads in one spot.
- Visual Inspection: Look at the rotor from the side. If it has a noticeable wave or bend, it’s warped.
- Fixing Minor Warping: Very minor warping can sometimes be corrected by carefully bending the rotor back into place. Use specialized rotor straightening tools or a clean, adjustable wrench, being very gentle. Work slowly and make small adjustments. If the warp is significant, replacement is recommended.
H4: Rotor Glazing and Cleaning
Similar to pads, rotors can become glazed, especially if contaminated with oil or if the bike has been ridden hard in wet conditions.
- Cleaning: As described above, thorough cleaning with isopropyl alcohol is the first step.
- Resurfacing: If cleaning doesn’t solve the issue and the rotor appears glazed (shiny and smooth), you can try lightly scuffing the rotor surface with very fine-grit sandpaper (400 grit or higher). The goal is to remove the glaze without damaging the rotor.
- Replacement: If the rotor is deeply glazed, corroded, or damaged, replacement is the best option.
H3: Brake Pad Bedding-In for Disc Brakes
This is crucial for disc brakes to achieve optimal performance and minimize noise.
- Clean Everything: Ensure rotors and pads are clean.
- Find a Safe Area: Go to a place where you can safely accelerate and brake repeatedly (e.g., a quiet road or bike path).
- Accelerate: Ride the bike up to a moderate speed (e.g., 15-20 mph).
- Brake Firmly: Apply the brake lever firmly enough to slow down significantly, but avoid locking up the wheel completely. Hold the brake for a few seconds to generate heat.
- Repeat: Release the brake, accelerate again, and repeat the firm braking process. Do this about 10-20 times for each brake. You might hear some squealing during this process, which is normal.
- Cool Down: After bedding in, ride for a few minutes without heavy braking to allow the brakes to cool.
H3: Other Potential Causes and Solutions for Disc Brake Squeal
- Pad Material: Some pad compounds are more prone to squeal than others. Organic (resin) pads are often quieter but wear faster and perform worse in wet conditions. Metallic (sintered) pads are noisier but more durable and perform better in all conditions. If you’re consistently getting squeal with a particular type, consider trying a different compound.
- Loose Bolts: Check that your brake caliper mounting bolts and rotor bolts are securely tightened. Loose components can vibrate and cause noise.
- Hydraulic Fluid Issues: In rare cases, air in the hydraulic brake lines or contaminated brake fluid can cause inconsistent performance and noise. This usually requires a brake bleed, which is a more advanced maintenance task best left to a bike shop if you’re not experienced.
- Pad Retention: Ensure the brake pads are properly seated and held in place by their retaining pins or clips.
When to Seek Professional Help
While many brake squeal issues can be resolved with basic brake maintenance, some problems might require specialized tools or expertise. Consider visiting a bike shop if:
- You’ve tried cleaning and adjustment, and the squeal persists.
- You suspect your rotors are significantly warped or damaged.
- You’re uncomfortable performing any of the above steps.
- You have hydraulic disc brakes and suspect an issue with the fluid or a need for bleeding.
- Your brake pads are heavily worn or damaged.
Table: Common Brake Squeal Causes and Solutions
| Brake Type | Common Cause | Solution |
|---|---|---|
| Rim Brake | Contaminated Rims/Pads | Clean rims with degreaser/alcohol. Clean or lightly sand pads. |
| Rim Brake | Misaligned Pads (no toe-in) | Adjust pads for slight toe-in (front edge hits first). |
| Rim Brake | Glazed Pads | Lightly sand the braking surface of the pads. |
| Rim Brake | Out-of-True Wheel | True the wheel or have it serviced. |
| Disc Brake | Contaminated Rotors/Pads | Clean rotors with alcohol. Clean or lightly sand pads. Replace pads if heavily contaminated. |
| Disc Brake | Glazed Pads/Rotors | Lightly sand pads and/or rotors. Consider pad replacement. |
| Disc Brake | Rotor Warping | Check for rubbing. Try to straighten minor warps or replace the rotor. |
| Disc Brake | Misaligned Caliper | Realign the caliper so it centers the rotor. |
| Disc Brake | Worn Pads | Replace the brake pads. |
| Disc Brake | Incorrect Pad Compound | Experiment with different pad materials (e.g., resin vs. metallic). |
| All Brakes | Improper Bedding-In | Perform thorough brake pad bedding-in procedure. |
| Hydraulic Disc | Air in lines/Contaminated Fluid | Perform a brake bleed (usually professional service). |
Frequently Asked Questions (FAQ)
Q1: Can I use WD-40 on my bike brakes?
Absolutely not! WD-40 is a lubricant and solvent that can contaminate your brake pads and rotors, leading to poor braking and even more squeal. Always use isopropyl alcohol or a dedicated disc brake cleaner for cleaning.
Q2: How often should I clean my bike brakes?
It depends on your riding conditions. If you ride in wet, muddy, or dusty environments, cleaning every few rides is a good idea. For dry, clean riding, you might only need to clean them when you start hearing noise. Regularly inspecting them is key.
Q3: What does “brake pad bedding-in” do?
Bedding-in transfers a thin, even layer of pad material onto the rotor or rim. This creates a consistent braking surface, improving stopping power and reducing the likelihood of vibrations that cause squealing.
Q4: My disc brakes are still squealing after cleaning, what else can it be?
If cleaning doesn’t resolve the issue, check for rotor warping, ensure your caliper is properly aligned, and consider that the pad material itself might be the issue or that the pads are too worn. If it’s a hydraulic system, air in the lines could be a culprit.
Q5: Is squealing brake pads dangerous?
While squealing is primarily an annoyance, persistent or sudden changes in braking noise can indicate a problem. Heavily worn pads or contaminated brakes can lead to reduced stopping power, which is a safety concern. It’s always best to address brake noise promptly.
By following these steps, you can effectively combat that annoying brake pad squeal and enjoy quieter, more reliable braking on all your rides. Happy cycling!