
Getting the correct mountain bike frame size is crucial for a comfortable and efficient ride. A frame that’s too big or too small can lead to discomfort, reduced control, and even injuries. This comprehensive guide will walk you through the process of measuring your mountain bike frame and choosing the right size.
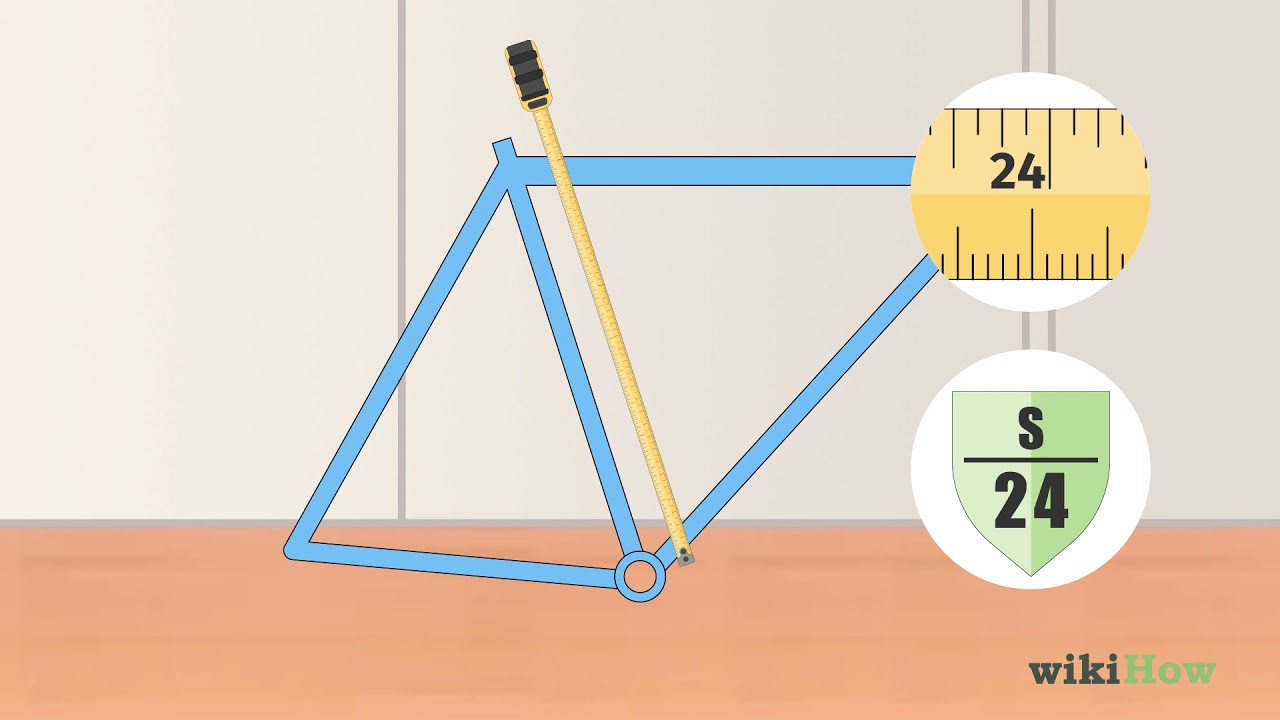
Image Source: i.ytimg.com
Why Frame Size Matters
A mountain bike’s frame is its foundation. Its size dictates how the bike will handle, how you’ll sit on it, and ultimately, how much enjoyment you’ll get from your rides. An improperly sized bike can make climbing harder, descending more challenging, and prolonged rides painful. It’s not just about how tall you are; your body proportions, riding style, and the type of terrain you’ll be tackling all play a role.
Measuring Your Current Bike for Reference
Before diving into new bike measurements, it’s beneficial to measure your current bike if you have one you’re comfortable on. This can provide a good baseline.
Key Measurements to Take
When performing bicycle frame measurement on your existing bike, focus on these critical dimensions:
- Seat Tube Length: This is the classic measurement, often used to categorize frame sizes (e.g., small, medium, large). It’s typically measured from the center of the bottom bracket to the top of the seat tube, or where the seat tube intersects with the top tube.
- Top Tube Length: This refers to the effective top tube length, which is the horizontal distance from the center of the head tube to the center of the seat tube. This measurement is vital for determining reach.
- Head Tube Length: The length of the head tube influences the bike’s front-end height and the rider’s posture.
- Standover Height: The distance from the ground to the top of the top tube. This is important for safety, allowing you to dismount quickly.
How to Measure Seat Tube Length:
- Place the bike on a flat surface.
- Use a tape measure.
- Start at the center of the crank spindle (where the pedals attach to the frame).
- Run the tape measure up the seat tube to the point where the top tube meets the seat tube. For a more consistent measurement across different frame designs, measure to the top of the seat tube itself or to the center of the seat tube clamp. This can vary slightly depending on the source of a mountain bike frame measurement chart.
How to Measure Top Tube Length:
- Ensure the bike is level.
- Measure from the center of the head tube (where the fork goes through the frame) horizontally to the center of the seat tube.
- This measurement is often referred to as the “effective top tube length” and is a key indicator of how stretched out you’ll be.
Measuring Yourself for the Right Fit
The most accurate way to determine your correct mountain bike frame size is to measure your body.
Critical Body Measurements
- Inseam: This is the most important measurement. It’s the length from your crotch to the floor.
- Height: Your overall height is also a factor, though inseam is generally more critical for frame sizing.
- Torso Length: While harder to measure precisely on your own, a longer torso might influence your reach preferences.
- Arm Length: Similar to torso length, longer arms might suggest a preference for a longer reach.
How to Measure Your Inseam:
- Stand barefoot with your back against a wall.
- Place a book or ruler between your legs, as if you were sitting on a saddle.
- Have a friend or family member press the book firmly upwards and mark the wall at the top of the book.
- Measure the distance from the floor to the mark on the wall. This is your inseam.
Deciphering Mountain Bike Geometry and Sizing
Modern mountain bike frame sizing goes beyond just seat tube length. Manufacturers use various aspects of mountain bike geometry to define their sizes.
Understanding Key Geometry Terms
- Seat Tube Length: As mentioned, this is a primary sizing metric. However, with the advent of dropper seatposts and sloping top tubes, it’s less definitive than it once was.
- Effective Top Tube (ETT) Length: This is a crucial measurement. It dictates your reach to the handlebars. A longer ETT generally means a more stretched-out riding position.
- Reach: This is the horizontal distance from the center of the bottom bracket to the center of the top of the head tube. It’s a more modern and often more accurate way to compare how a bike will feel in terms of cockpit length.
- Stack: This is the vertical distance from the center of the bottom bracket to the center of the top of the head tube. It relates to how high the front end of the bike is, influencing your riding posture.
- Head Tube Angle: This affects how the bike steers. A slacker head tube angle (lower number) makes for more stable descending.
- Seat Tube Angle: This impacts your pedaling efficiency and weight distribution on climbs. A steeper seat tube angle positions you further forward over the pedals.
The Role of a Bike Fit Calculator
A bike fit calculator can be an excellent starting point. You input your body measurements, and it suggests a frame size and sometimes even specific component recommendations. However, these are guides, not gospel. Your personal preferences and riding style are paramount.
Using a Mountain Bike Frame Sizing Guide
Many manufacturers provide a mountain bike frame sizing guide on their websites. These charts typically correlate rider height or inseam with recommended frame sizes.
Sample Mountain Bike Frame Measurement Chart (Illustrative)
| Rider Height (cm / ft in) | Rider Inseam (cm / in) | Small (S) | Medium (M) | Large (L) | Extra Large (XL) |
|---|---|---|---|---|---|
| 155-165 cm / 5’1″-5’5″ | 69-74 cm / 27″-29″ | X | |||
| 165-175 cm / 5’5″-5’9″ | 74-79 cm / 29″-31″ | X | |||
| 175-185 cm / 5’9″-6’1″ | 79-84 cm / 31″-33″ | X | |||
| 185-195 cm / 6’1″-6’5″ | 84-89 cm / 33″-35″ | X |
Note: This is a simplified example. Actual charts will vary by manufacturer and bike model.
Practical Steps for Choosing Your Frame Size
Here’s a step-by-step approach to choosing the right mountain bike frame:
Step 1: Measure Yourself Accurately
Start with your inseam and height. These are the foundational measurements for using any mountain bike frame sizing guide.
Step 2: Consult Manufacturer Charts
Once you have your measurements, visit the websites of brands you’re interested in. Find their specific sizing charts for the models you’re considering. Compare your body measurements to their recommendations.
Step 3: Prioritize Reach and Stack
While seat tube length is still a reference, pay close attention to the effective top tube length and reach. These will give you a better idea of how the bike will feel when you’re standing or seated.
- For XC and Trail Riding: A slightly longer reach can provide a more aggressive, forward-leaning position for efficient pedaling.
- For Downhill and Enduro Riding: A more upright position with a shorter reach might be preferred for better control and maneuverability on descents.
Step 4: Consider Standover Height
This is a critical safety aspect. When you stand over the bike with your feet flat on the ground, there should be adequate clearance between the top tube and your crotch. For mountain bikes, a clearance of 2-4 inches (5-10 cm) is generally recommended, allowing you to dismount quickly and safely.
Step 5: Test Ride if Possible!
This is arguably the most important step. If you can, visit a local bike shop and test ride bikes in your potential size range. Pay attention to:
- Comfort: How does the bike feel when you’re sitting and pedaling?
- Reach: Can you comfortably reach the handlebars without feeling too stretched out or too cramped?
- Handling: Does the bike feel stable and responsive?
- Standover: Can you comfortably stand over the top tube?
Step 6: Factor in Riding Style and Terrain
Your intended use of the bike significantly impacts choosing the right mountain bike frame.
- Cross-Country (XC): Typically favors a more efficient pedaling position, often with a slightly longer reach and lower stack.
- Trail: A balance between climbing efficiency and descending capability. Frame geometry will reflect this compromise.
- All-Mountain/Enduro: Prioritizes stability and control on descents. This often means slacker head angles, longer reach, and lower bottom brackets.
- Downhill: Designed purely for descending, with very slack head angles, long reach, and low standover heights.
Step 7: Utilize Online Resources and Expert Advice
Don’t hesitate to use a bike fit calculator as a starting point, but also seek advice from experienced riders or bike shop professionals. They can offer valuable insights based on your measurements and intended use.
When Different Measurements Might Suggest Different Sizes
It’s not uncommon for your measurements to fall between two sizes on a manufacturer’s chart, or for a seat tube length measurement to suggest one size while the reach measurement suggests another. This is where personal preference and component choices come into play.
- If your inseam suggests a larger size, but your torso and arm length suggest a smaller size for reach: You might lean towards the smaller frame but use a longer stem and handlebars to achieve the desired reach. Conversely, if the larger frame feels better for standover, you might use a shorter stem.
- If you prefer a more upright position: You might opt for a frame with a shorter reach and a higher stack, or use components like a higher-rise stem.
- If you prefer a more aggressive, stretched-out position: You might choose a frame with a longer reach and a lower stack, potentially with a shorter stem.
Common Sizing Mistakes to Avoid
- Relying solely on seat tube length: This is outdated as the primary sizing metric.
- Ignoring reach and stack: These are crucial for determining the actual fit and feel of the bike.
- Not considering standover height: Safety is paramount.
- Purchasing without a test ride (if possible): Experiencing the bike is invaluable.
- Not accounting for riding style: A bike suited for XC might not be ideal for aggressive downhill.
Adjusting Fit with Components
Once you’ve selected a frame size, you can fine-tune the fit using various components:
- Stem Length and Angle: A shorter stem brings the handlebars closer, while a longer stem moves them further away. Changing the stem angle (rise) can also adjust handlebar height.
- Handlebar Width and Rise: Wider handlebars can offer more leverage, while different rise heights affect your posture.
- Seatpost Setback: The position of the seatpost in its clamp can move the saddle forward or backward, influencing your pedaling position relative to the bottom bracket.
- Saddle Position: Fore/aft adjustment and tilt on the saddle rails fine-tune your comfort and pedaling efficiency.
Frequently Asked Questions (FAQ)
Q1: What is the most important measurement for mountain bike frame sizing?
A1: While multiple measurements are important, your inseam is generally considered the most crucial for determining the correct mountain bike frame size, particularly for standover height and overall leg room. However, reach and effective top tube length are vital for cockpit comfort.
Q2: Can I use my road bike frame size for a mountain bike?
A2: No, you generally cannot use your road bike frame size directly for a mountain bike. Mountain bikes have different geometry, longer travel suspension, and are designed for different riding positions and terrain, which necessitates different sizing considerations.
Q3: Who is a mountain bike frame size chart for?
A3: A mountain bike frame sizing guide or chart is for anyone looking to purchase a new mountain bike or understand if their current bike fits them correctly. It helps riders match their body dimensions to the manufacturer’s recommended frame sizes.
Q4: How do I know if my mountain bike frame is too big or too small?
A4: If your mountain bike is too big, you’ll likely feel stretched out, have trouble maneuvering the bike, and struggle with standover height. If it’s too small, you’ll feel cramped, your knees might hit the handlebars, and you might experience discomfort in your back and shoulders.
Q5: How does my inseam relate to seat tube length?
A5: Your inseam is used in conjunction with a mountain bike frame measurement chart to determine the appropriate seat tube length. A longer inseam typically requires a longer seat tube or a frame that allows for more seatpost extension to achieve the correct saddle height.
Q6: What is the difference between reach and effective top tube length?
A6: Both top tube length and reach are related to cockpit length. Effective top tube length is a horizontal measurement from the head tube center to the seat tube center. Reach is the horizontal distance from the bottom bracket center to the top of the head tube. Reach is often considered a more accurate comparison between bikes from different manufacturers because it accounts for variations in head tube design.
Q7: Is it better to size up or down if I’m between sizes?
A7: This is a common dilemma. Generally, it’s often advised to size down if you are between sizes, especially if you are concerned about standover height and maneuverability. A smaller frame can often be made to fit comfortably with longer stems and handlebars, whereas a frame that is too large is much harder to correct. However, if your primary concern is a more stretched-out riding position for climbing efficiency, sizing up might be considered, provided standover is not an issue. Always try to test ride both sizes if possible.
By carefully measuring yourself and consulting reliable resources, you can confidently select a mountain bike frame that will provide years of comfortable and exhilarating riding. Happy trails!