
Image Source: i.ytimg.com
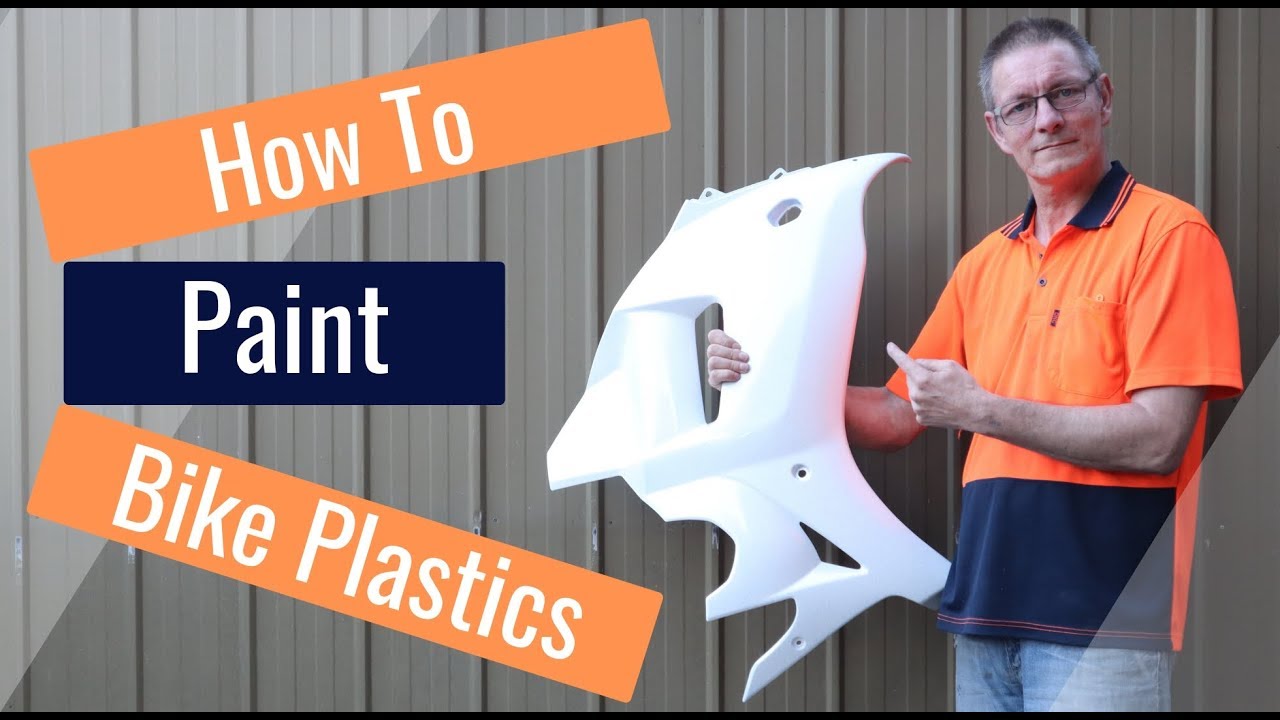
How To Paint Bike Fairings: Pro Tips for a Stunning Finish
Can you paint motorcycle fairings yourself? Yes, you can paint motorcycle fairings yourself with the right preparation and materials. This guide will walk you through the process, offering pro tips for a stunning finish. Motorcycle fairing painting is a rewarding project that can revitalize your bike’s look. Whether you’re undertaking motorcycle fairing restoration or simply want a fresh look, the steps are largely the same.
The Allure of a Fresh Paint Job
The fairings on your motorcycle are like its skin. They protect vital components and contribute significantly to the bike’s overall aesthetic. Over time, fairings can become scratched, faded, or damaged. A professional-looking paint job can transform your ride, making it look brand new and reflecting your personal style. This isn’t just about aesthetics; it’s about bringing your motorcycle back to life and ensuring it turns heads for all the right reasons.
Deciphering the Painting Process: A Step-by-Step Approach
1. Gathering Your Supplies: The Foundation of Success
Before you even touch a spray can, having the right tools and materials is crucial. This is where many DIYers stumble, but with careful planning, you can avoid common pitfalls.
-
Protective Gear:
- Respirator mask (rated for paint fumes)
- Safety glasses or goggles
- Latex or nitrile gloves
- Disposable coveralls or old clothing
-
Cleaning Supplies:
- Mild soap and water
- Degreaser (automotive specific)
- Clean microfiber towels or lint-free cloths
- Wax and grease remover
-
Repair and Preparation Materials:
- Sandpaper: A range of grits from 80-120 for initial sanding, 220-400 for primer, 600-1000 for between clear coats, and higher grits for polishing.
- Body filler (for deeper scratches or gouges)
- Primer (specifically formulated for plastic if working with plastic fairings)
- Primer adhesion promoter
- High-quality automotive paint (base coat and clear coat are standard for most finishes)
- Rubbing compound
- Polishing compound
- Wax
-
Painting Tools:
- Spray gun (HVLP is recommended for better control and less overspray) or high-quality spray cans.
- Air compressor (if using a spray gun)
- Paint strainers
- Mixing cups and sticks
- Masking tape (automotive grade, high-tack)
- Masking paper or plastic sheeting
- Tack cloth
- Rubbing alcohol or lacquer thinner
Preparing Bike Fairings for Paint: The Most Critical Stage
This is arguably the most important step in achieving a professional finish. Skipping or rushing preparation is a surefire way to get a poor result. Motorcycle fairing painting demands meticulous attention to detail at this stage.
Dismantling and Initial Inspection
- Careful Removal: Gently remove all fairings from your motorcycle. Take pictures or label bolts and clips as you go to aid reassembly.
- Thorough Inspection: Examine each piece for damage. Look for cracks, deep scratches, dents, or missing pieces.
Addressing Damage: Fairing Repair Painting
- Cracks:
- For small cracks, you can often use a plastic repair epoxy or specialized plastic welding tools.
- Drill small holes at the end of each crack to prevent it from spreading further.
- Apply the epoxy according to the manufacturer’s instructions. Clamp if necessary and allow it to cure fully.
- Scratches and Gouges:
- Light Scratches: These can usually be sanded out.
- Deeper Scratches: You’ll need to use body filler. Apply a thin layer, feathering the edges. Let it cure, then sand it smooth, starting with a coarser grit (like 180) and progressing to finer grits.
- Dents: Small dents can sometimes be pushed out from the inside. Larger dents may require specialized tools or techniques, or you might consider replacing the damaged fairing section.
Sanding for Adhesion
- Start Coarse, Go Fine: Begin sanding with a grit like 180 or 220 to remove any old clear coat, minor imperfections, or oxidation. This creates a surface for the new paint to adhere to. For plastic fairing painting, ensure your sandpaper is suitable for plastic to avoid melting or clogging.
- Progressive Grits: Gradually move to finer grits (320, 400). The goal is to create a uniformly dull surface.
- Feather Edging: If you’ve repaired any damage, ensure the edges of the filler or repair material are smoothly blended into the surrounding plastic using progressively finer sandpaper. This is crucial for a smooth finish.
- Cleanliness is Key: After each sanding stage, wipe down the fairings with a damp cloth and then a dry cloth. Use compressed air to blow away dust from crevices.
Cleaning and Degreasing
- Wash: Wash the fairings with mild soap and water to remove any surface dirt and grime. Rinse thoroughly and dry with a clean microfiber towel.
- Degrease: Apply a wax and grease remover liberally to all surfaces. Use a clean, lint-free cloth and wipe in one direction. Flip the cloth frequently to avoid spreading contaminants. This step is vital to remove silicones, oils, and other residues that can cause paint adhesion problems.
Applying Primer: Building the Foundation
Primer is essential for good paint adhesion, color consistency, and hiding minor imperfections.
Primer Types and Application
- Plastic Primer/Adhesion Promoter: For plastic fairings, always use a primer specifically designed for plastic or an adhesion promoter first. This ensures the primer and subsequent paint layers bond effectively to the plastic.
- Primer Coats: Apply 2-3 thin, even coats of primer. Allow adequate flash-off time between coats as recommended by the primer manufacturer. Flash-off time is the period where solvents evaporate, allowing the next coat to bond properly.
- Color: Primer typically comes in grey, white, or black. Grey is a good all-around choice. White is best for bright colors, while black is good for dark or metallic colors.
Sanding the Primer
- Smooth Surface: Once the primer is fully cured (check the product data sheet for drying times, which can be 24 hours or more), lightly sand it with a fine-grit sandpaper, typically 600-800 grit.
- Purpose: This step smooths out any imperfections in the primer and provides an even surface for the base coat. You’re looking for a uniformly dull surface with no shiny spots.
- Cleaning: Again, clean the surface thoroughly with compressed air and tack cloth to remove all dust.
Applying the Base Coat: The Color Layer
This is where your motorcycle fairing painting truly begins to take shape.
Paint Choice: Best Paint for Bike Fairings
- Acrylic Lacquer or Enamel: These are common for DIY applications, especially in spray cans. They dry quickly but can be less durable than modern automotive paints.
- Urethane or 2K Paints: These offer superior durability, chemical resistance, and a deeper gloss. They typically require a catalyst and are mixed by volume. These are the professional choice but demand more caution and proper safety equipment.
- Spray Cans vs. Spray Gun: High-quality spray cans can yield good results for smaller jobs or simpler finishes. For complex designs or a factory-like finish, a spray gun (like an HVLP) offers better control, atomization, and a smoother application. If you’re aiming for a DIY motorcycle fairing paint job with a high-quality outcome, investing in or renting a spray gun is worthwhile.
Application Technique
- Thin, Even Coats: Apply the base coat in thin, even layers. Avoid trying to cover the surface in one go, as this can lead to runs and sags.
- Consistent Distance and Speed: Maintain a consistent distance (typically 6-8 inches) from the surface and move your arm in a steady, sweeping motion. Overlap each pass by about 50%.
- Flash-Off Time: Allow the recommended flash-off time between coats for the solvents to evaporate. This prevents solvent trapping, which can cause lifting or hazing of subsequent coats.
- Number of Coats: You’ll likely need 2-4 coats to achieve full coverage and depth of color. Check the paint manufacturer’s recommendations.
- Final Inspection: After the last base coat, inspect for any issues like dust nibs or runs. These can sometimes be lightly sanded out (using very fine grit like 1000-1500) after the paint has flashed off adequately, followed by a tack cloth wipe.
Applying the Clear Coat: Protection and Shine
The clear coat protects the base coat from UV rays, scratches, and environmental damage, while also providing that deep, glossy finish.
Clear Coat Selection and Application
- Automotive Grade: Use a high-quality automotive clear coat. 2K clear coats are the standard for durability and shine.
- Application: Apply clear coat in the same manner as the base coat: thin, even layers with proper overlap and flash-off time.
- Number of Coats: Typically, 2-3 coats of clear coat are sufficient.
- Smooth Finish: Aim for a smooth, wet-looking finish. Be careful not to apply too much, which can cause runs.
Motorcycle Fairing Finishing: The Art of Perfection
After the clear coat has cured, it’s time to bring out the ultimate shine.
Curing Time
- Patience is a Virtue: Allow the clear coat to cure thoroughly. This can take anywhere from 24 hours to several days or even weeks, depending on the product and environmental conditions. The paint will feel dry to the touch much sooner, but it needs time to harden fully.
Wet Sanding (Optional but Recommended)
- For the Ultimate Finish: If you’re aiming for a show-quality finish or have minor imperfections like dust nibs or slight orange peel in the clear coat, wet sanding is your next step.
- Grits: Start with a very fine grit, such as 1500 or 2000 grit sandpaper, used wet. Progress to 2500 or 3000 grit.
- Technique: Use a sanding block or a foam pad to ensure even pressure. Keep the surface wet, and rinse the sandpaper frequently. The goal is to level out any imperfections without sanding through the clear coat.
- Caution: Be extremely careful not to sand through the clear coat to the base coat, especially on edges.
Compounding and Polishing
- Rubbing Compound: After wet sanding, the surface will look dull. Apply a rubbing compound to a foam applicator pad or a buffing wheel. Work in small sections, using moderate pressure. This removes the sanding scratches.
- Polishing Compound: Follow up with a finer polishing compound. This refines the finish and begins to restore the shine.
- Buffing: A machine polisher (orbital or rotary) can make this process much faster and more effective. If using a machine, start with a less aggressive pad and compound and increase as needed. Always work in a well-ventilated area.
Final Waxing
- Protection: Apply a good quality automotive wax to protect the freshly painted surface and enhance its gloss.
How to Spray Paint Motorcycle Fairings in Cans
If you’re using spray cans, the principles are the same, but the application requires even more care.
- Shake Well: Shake the can vigorously for at least 2 minutes before and during use.
- Test Spray: Always test spray on a scrap piece of material to get a feel for the spray pattern and pressure.
- Thin Coats: Apply multiple thin coats rather than one thick coat.
- Maintain Distance and Speed: Keep the can moving at a consistent distance and speed.
- Avoid Over-Saturating: Too much paint in one spot will lead to runs and drips.
Common Motorcycle Fairing Painting Mistakes to Avoid
- Inadequate Preparation: Not sanding or cleaning properly.
- Skipping Primer: Especially on plastic or over repairs.
- Applying Paint Too Thickly: Leads to runs and sags.
- Not Allowing Flash-Off Time: Causes paint adhesion issues.
- Painting in Unsuitable Conditions: Dust, humidity, extreme temperatures.
- Not Wearing Proper Safety Gear: Inhaling fumes can be dangerous.
- Using the Wrong Type of Paint: For example, not using plastic-specific primer on plastic.
Reassembly
Once everything is fully cured and polished, carefully reattach the fairings to your motorcycle. Refer to the pictures or labels you made during disassembly.
Final Thoughts on Your DIY Motorcycle Fairing Paint Job
Painting bike fairings can be a deeply satisfying project. By following these steps and focusing on meticulous preparation, you can achieve a professional-quality finish that enhances your motorcycle’s appearance and value. Remember that patience and attention to detail are your greatest allies in motorcycle fairing painting. Whether it’s a full motorcycle fairing restoration or a simple refresh, the effort invested will shine through.
Frequently Asked Questions (FAQ)
Q1: Can I paint my motorcycle fairings without removing them?
While it’s possible to do minor touch-ups without removing fairings, for a complete and high-quality paint job, it’s highly recommended to remove them. This allows for thorough preparation, sanding, and even application of paint without overspray on other parts of the bike.
Q2: What is the best type of paint for motorcycle fairings?
For durability, gloss, and resistance to the elements, 2K urethane automotive paints (base coat and clear coat) are considered the best. However, high-quality acrylic lacquers or enamels can also yield good results for DIY projects, especially when applied correctly from spray cans.
Q3: How long does it take to paint motorcycle fairings?
The actual painting time might only be a few hours, but the entire process, including preparation, drying, and curing time between coats and for the final finish, can take several days to over a week. Rushing the process will compromise the quality of the finish.
Q4: How do I fix a crack in a plastic motorcycle fairing before painting?
Small cracks can be repaired using plastic repair epoxy or specialized plastic welding kits. For best results, drill small holes at the ends of the crack to prevent further spreading, clean the area thoroughly, apply the repair material, and sand it smooth once cured before priming and painting.
Q5: Is it necessary to wet sand the clear coat?
Wet sanding the clear coat (using very fine grits like 1500-3000) is not strictly mandatory for a basic paint job, but it’s essential for achieving a truly professional, mirror-like finish. It helps level out minor imperfections and prepares the surface for compounding and polishing.
Q6: Can I use regular house paint or enamel paint for my bike fairings?
No, you should not use regular house paint or standard enamel paint. Automotive-specific paints are formulated to withstand UV exposure, temperature changes, fuel, and impact, and they adhere properly to plastic and metal substrates. Using the wrong type of paint will lead to premature failure and a poor finish.